Bathroom Vanity Installation Services in San Antonio
Bathroom vanity installation runs the full cycle from disconnection to leak test. We remove the old vanity cabinet and dispose of it, locate and mark wall studs, set a new cabinet level and…


SA Bathroom Remodel Pros provides bathroom vanity installation, old vanity removal, and countertop finishing across San Antonio, TX. A vanity installation covers removing the old cabinet and plumbing, preparing the wall and floor, setting and leveling a new vanity cabinet, installing a countertop cutout and sink, reconnecting the p-trap and supply lines, and running caulk beads to seal the gaps. The work takes a crew two to four hours for a single vanity, longer for doubles or floating units that need blocking behind the drywall.

Bathroom vanity installation runs the full cycle from disconnection to leak test. We remove the old vanity cabinet and dispose of it, locate and mark wall studs, set a new cabinet level and fastened to framing, install the vanity top with the sink and faucet assembly, and connect all supply and drain plumbing. The vanity countertop sits on the cabinet frame, and the sink either mounts underneath (undermount style) or sits on top of it (vessel sink). We run a continuous bead of silicone caulk around the backsplash and where the top meets the side walls to keep water from seeping behind the cabinet.
The first step is shutting off water at the shut-off valves under the sink. Turn them clockwise until they stop; do not force them if they are old and stiff. Loosen the supply line connections at the shutoff with an adjustable wrench, working counterclockwise. Have a bucket ready—there is always residual water in the lines. Once the supply lines are free, loosen the slip nuts where the drain p-trap connects to the basin tailpiece using pliers. The p-trap will empty into the bucket.

Start by locating wall studs using a stud finder at the height where the vanity cabinet will sit. Studs run 16 inches on center in most homes. Mark the stud locations with a pencil because you will drive drywall screws through the cabinet mounting rail directly into the studs—that is where the real holding power comes from. If no stud lines up where you need a fastener, use wall anchors rated for the weight the cabinet will carry once it is full of water and toiletries.
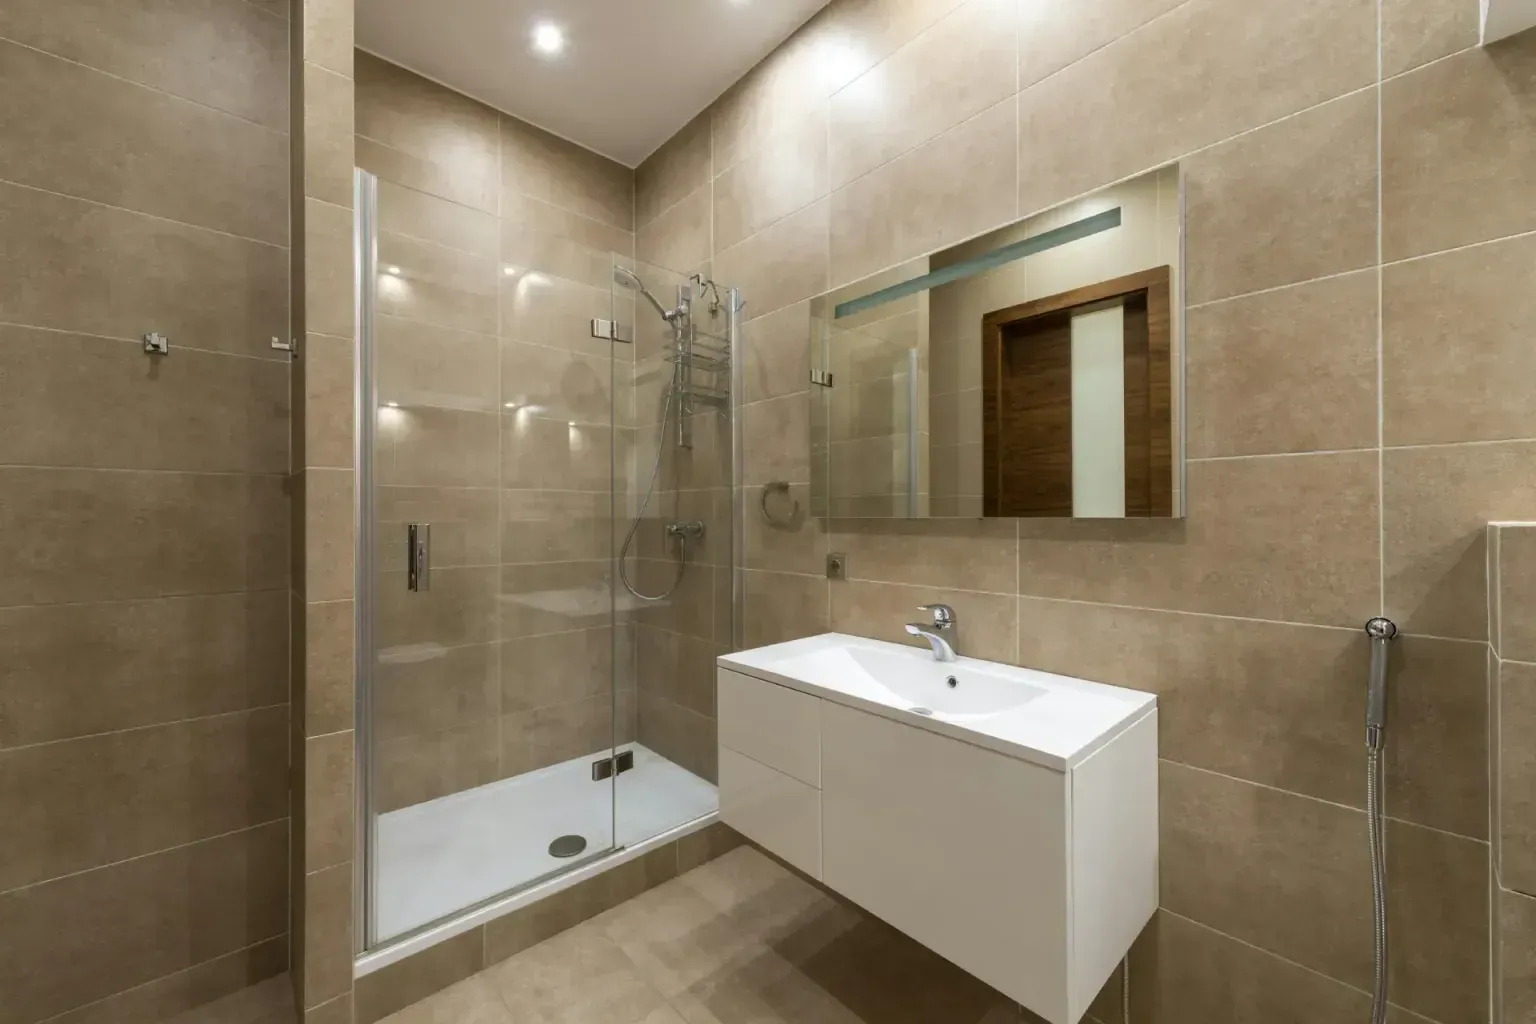
Verify that the vanity top is the correct width and depth and that the countertop cutout aligns with the sink basin before you set the top down. Position the top so the cutout sits centered over the cabinet. Run a bead of construction adhesive along the cabinet frame or use mounting brackets screwed through the top into the cabinet from underneath. Set the top in place and let the adhesive cure for the time listed on the tube.
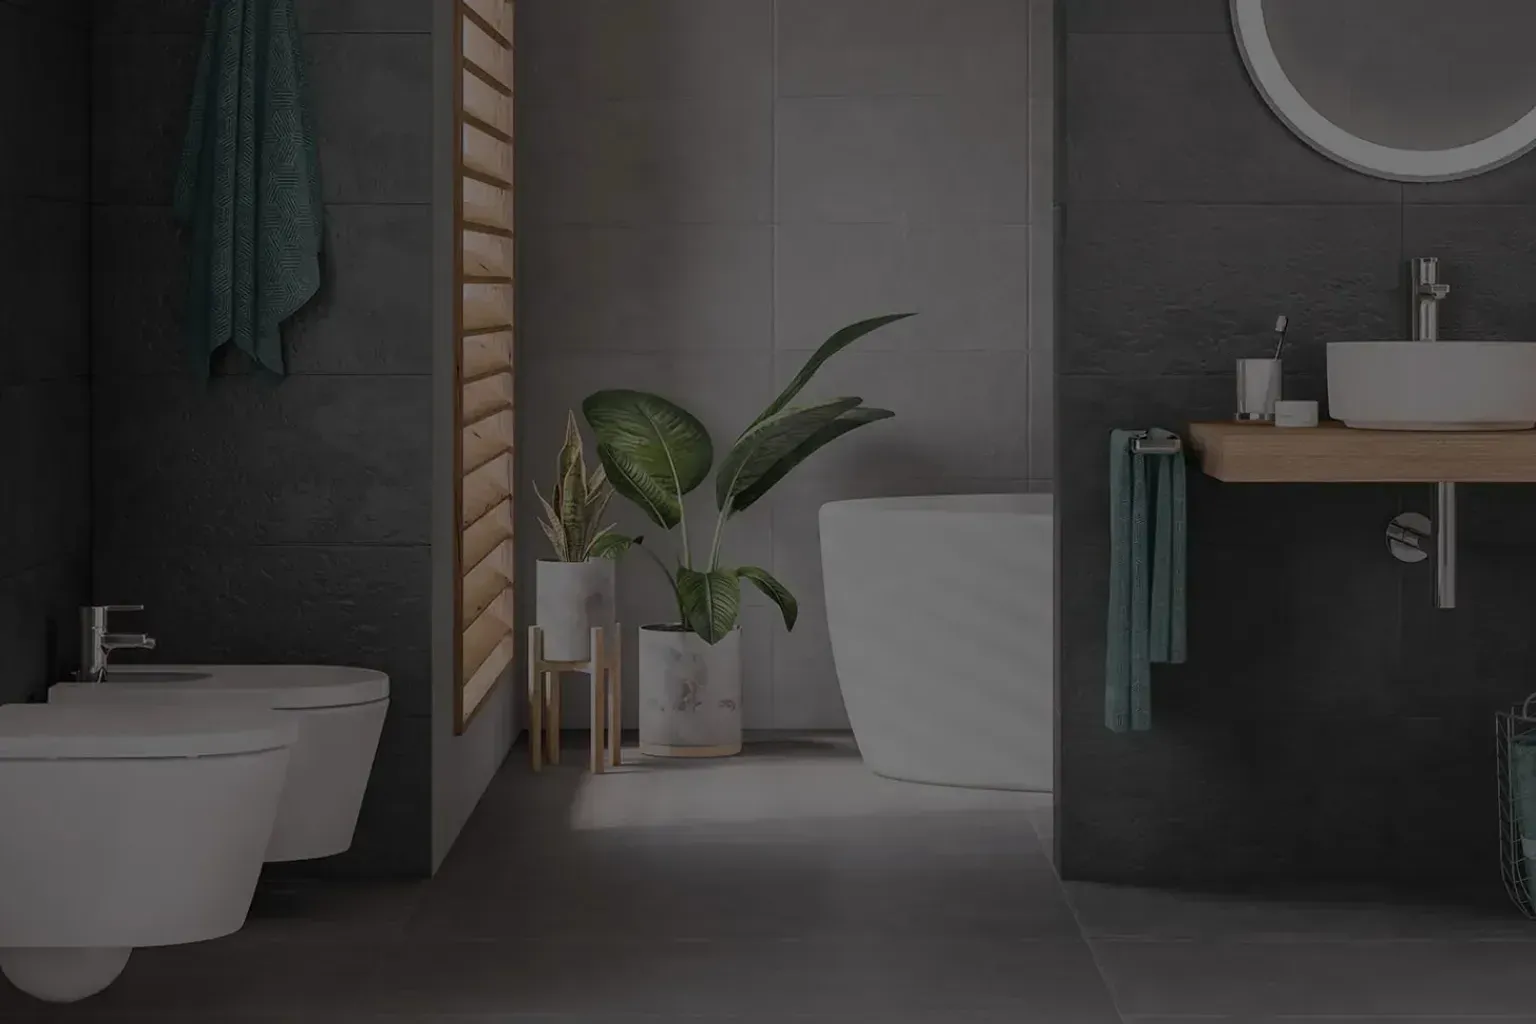
Install the drain flange by seating it in plumber's putty, then tighten the mounting nuts underneath to seal it. Assemble the p-trap by hand-tightening the slip nuts, then snug each quarter turn with an adjustable wrench. Do not over-tighten slip nuts or you risk cracking the plastic fitting. Reconnect the supply lines to the shut-off valves and test the fit of all connections before turning the water back on.
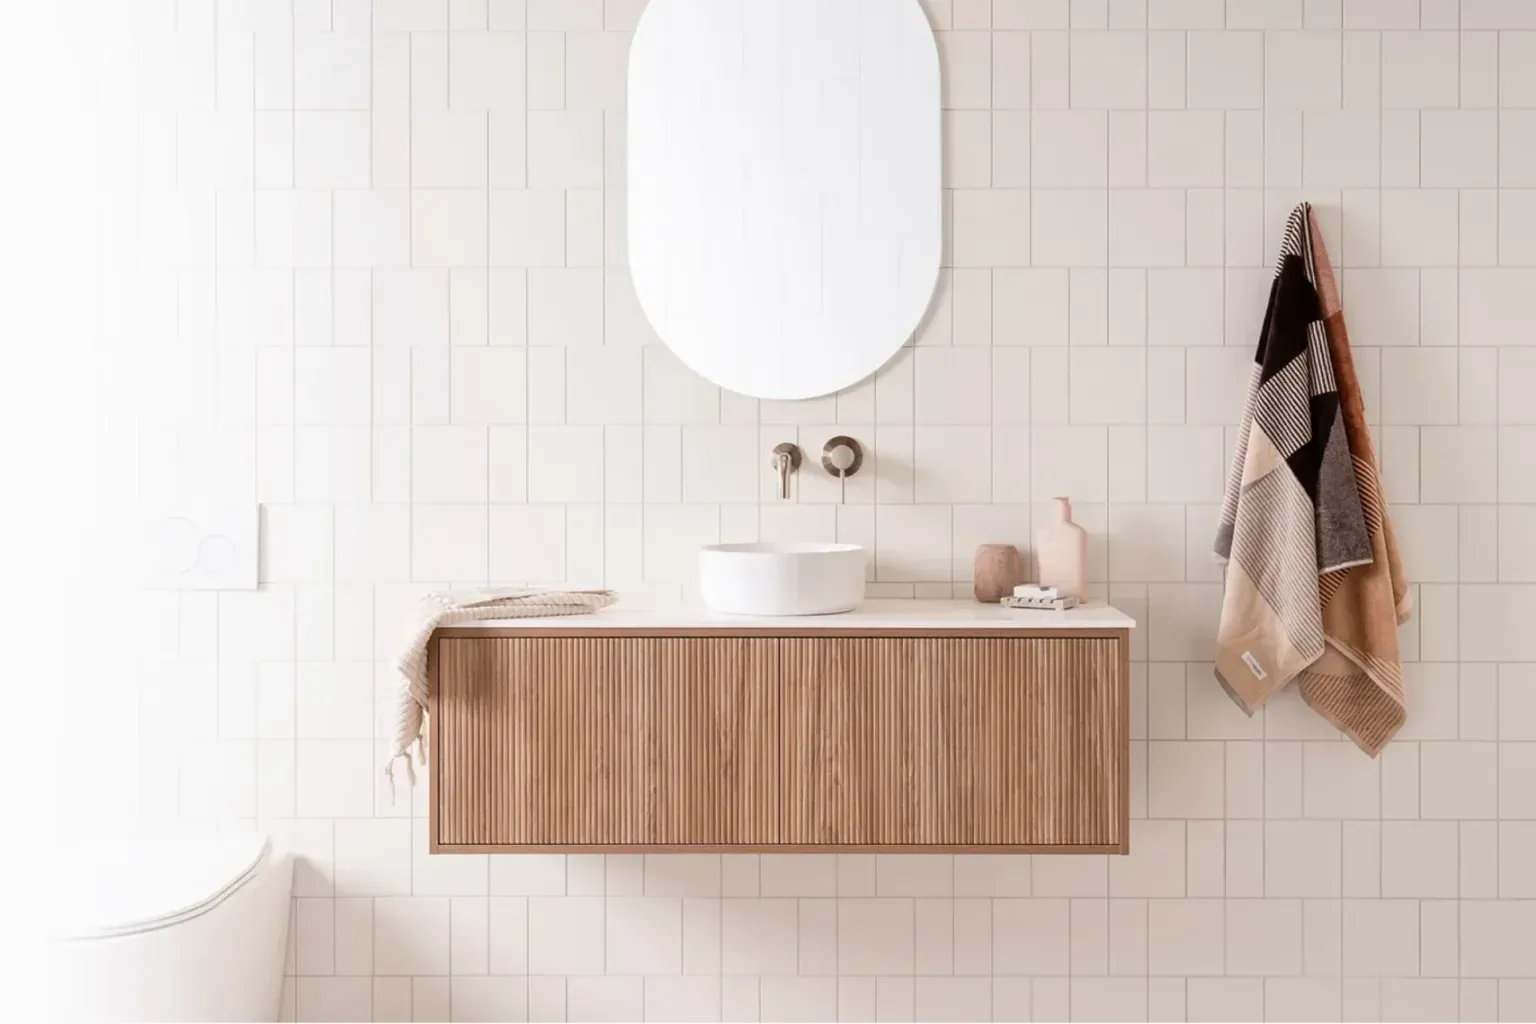
A double vanity installation is two separate single vanities plumbed independently. Each side gets its own supply lines and drain. If your water supply stub-outs and drain stubs do not line up with the cabinet spacing, you can move the stubs—which means opening the wall behind the vanity—or space the two cabinets to match the existing plumbing locations. The second approach is usually cheaper. Floating vanities demand heavy-duty wall anchors or blocking because the wall alone must support the weight of the cabinet plus water plus everything stored inside. Vessel sinks mount above the countertop cutout on a drain gasket and mounting hardware, unlike undermount sinks that hang below the rim. The drain assembly for a vessel sink runs through a single hole in the top.
Standard vanity height runs 30 to 32 inches from floor to top surface. Comfort height vanities are 34 to 36 inches, matching kitchen counter height and reducing bending for taller adults. Building codes generally require at least 21 inches of clear floor space directly in front of the vanity. If your bathroom is tight, a narrower vanity cabinet reduces the footprint. Custom sizing is common in older homes where the wall opening does not match stock cabinet widths. Measure the opening, note your water supply and drain stub locations, and provide those measurements to the fabricator so the vanity countertop cutout lands exactly where your plumbing is.

Granite vanity tops are durable and moisture-resistant but need periodic sealing to prevent staining. Quartz countertops are non-porous and require no sealing—water sits on top instead of soaking in. Quartzite looks like marble but is harder and more stain-resistant than marble vanity surfaces, though still softer than granite. Marble etches easily under acidic cleaners and stains readily; it is beautiful but demands careful maintenance. Porcelain vanities resist heat and scratching and do not stain, but unsupported edges chip. Match your material choice to your budget, your household chemistry, and how much maintenance you are willing to do.
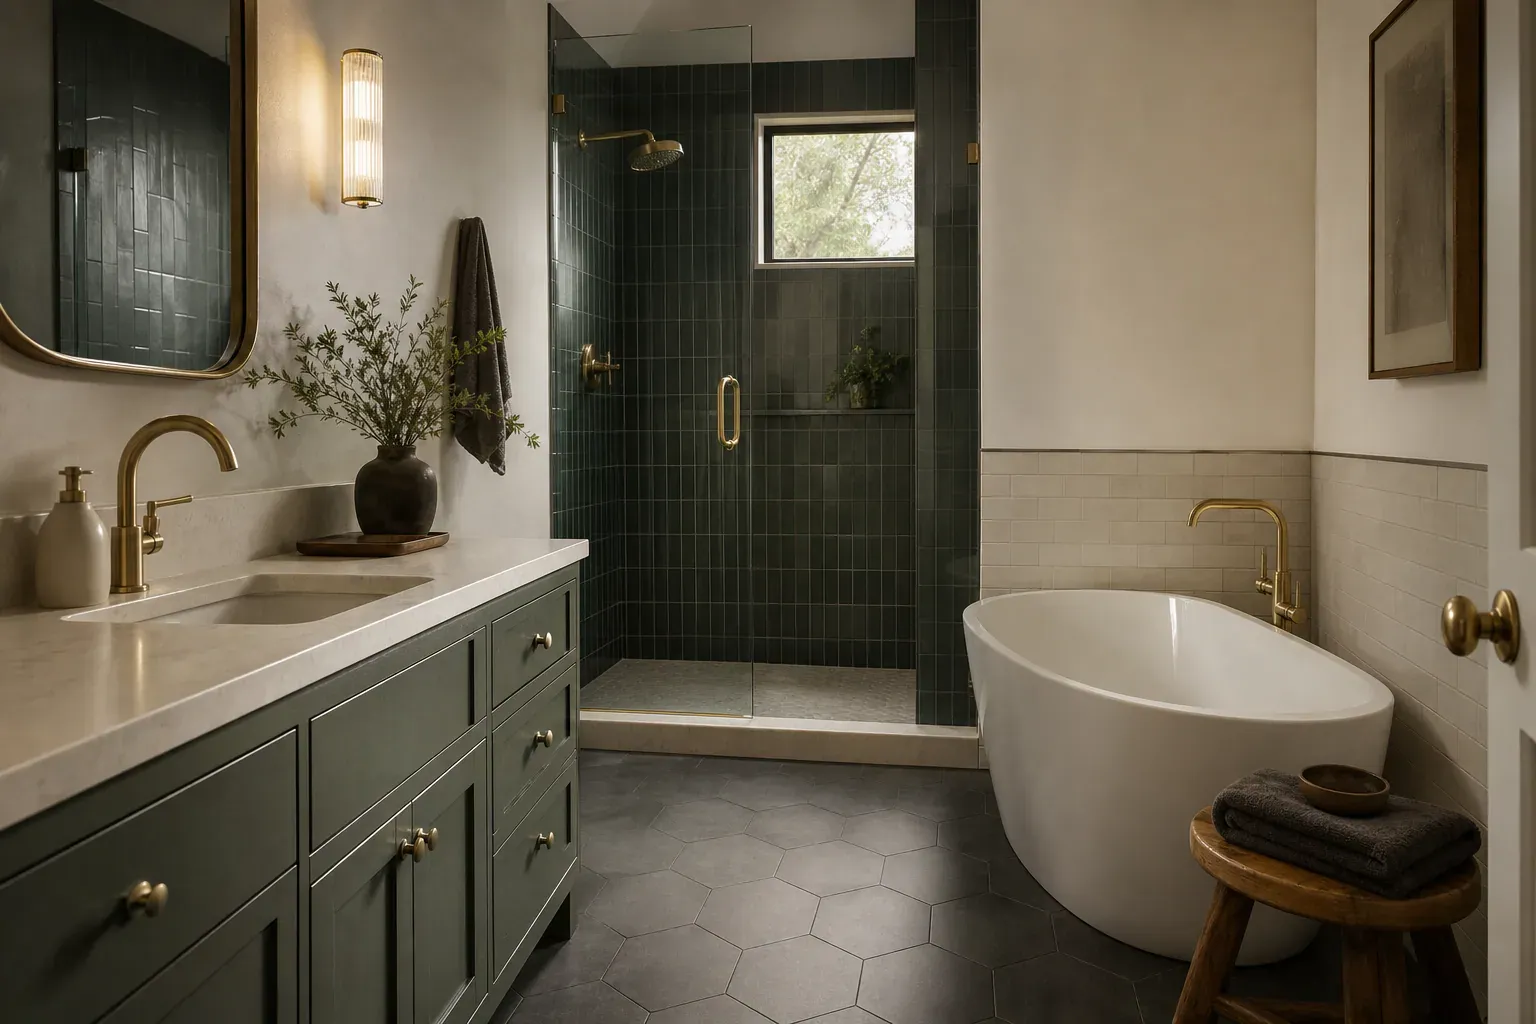
Before we set a vanity cabinet in place, the supply lines have to come free from the old fixture. Supply line detachment means disconnecting the flexible hoses or rigid copper that fed hot and cold water to your old sink. We turn off the main water valve, open the faucet to bleed pressure, then unbolt each line at the shutoff valve under the cabinet. Copper lines get cut with a tubing cutter; flexible supply lines just unscrew by hand or wrench. Any water still in the lines drains into a bucket—it's not much, but it prevents a mess on your bathroom floor.
Vanity countertop replacement happens when the original top is damaged, stained, or just worn out. We remove the old countertop by cutting the caulk seam with a utility knife and unscrewing any fasteners from underneath. If the top was glued down, we pry it off carefully so we don't break the cabinet rim. A new laminate, quartz, or granite top goes down the same way: level, secure, caulk, and seal. The countertop material cost and installation time depend on the size, edge profile, and finish you choose, but the work is straightforward—we measure twice, cut or order to fit, and install with the same attention to leveling and watertight sealing as a full vanity job.
Bathroom vanity installation runs the full cycle from disconnection to leak test. We remove the old vanity cabinet and dispose of it, locate and mark wall studs, set a new cabinet level and…
The first step is shutting off water at the shut-off valves under the sink. Turn them clockwise until they stop; do not force them if they are old and stiff.
Start by locating wall studs using a stud finder at the height where the vanity cabinet will sit. Studs run 16 inches on center in most homes.
Verify that the vanity top is the correct width and depth and that the countertop cutout aligns with the sink basin before you set the top down.
Install the drain flange by seating it in plumber's putty, then tighten the mounting nuts underneath to seal it.
A double vanity installation is two separate single vanities plumbed independently. Each side gets its own supply lines and drain.
Why homeowners call us
Every bathroom remodel job is scoped and priced in writing, so the number you approve is the number you pay. If something behind the wall changes the work, we stop and price it first.
You speak to the people doing the work, not a call centre, and cover certificates go to your building manager or general contractor on request.
Containment, floor protection and same-day debris removal on every interior job — the space stays usable while the work is going on.
Crews work San Antonio and the surrounding cities every week, so a walkthrough is usually available within the same week you call.
FAQ
You do not need a licensed plumber, but vanity installation requires plumbing knowledge. You must shut off and reconnect water lines, reassemble the p-trap without leaks, and test for drips under the sink. If you are comfortable with basic plumbing tools and leak checking, you can do it. Otherwise, hire a crew that does this regularly.
Yes, if you have a level, stud finder, drill, adjustable wrench, and caulk gun. The cabinet setup and wall fastening are straightforward. The tricky part is the plumbing—making sure connections do not leak. Take your time, watch for drips, and test thoroughly before closing up.
Yes. Drive drywall screws through the cabinet mounting rail directly into the studs. If no stud lines up, use heavy-duty wall anchors. Wall fastening prevents the cabinet from pulling away from the wall over time and keeps it stable when doors and drawers open.
Run water into the sink and let it drain while watching the p-trap, supply connections, and drain flange underneath. Look for water dripping or running. If you spot a leak, tighten the offending slip nut or connection, then test again. Repeat until dry.
A floating vanity hangs from the wall with no floor support, requiring strong wall anchors or blocking. A freestanding vanity sits on legs or a base that rests on the floor. Floating vanities look modern and free up floor space; freestanding units are easier to plumb and repair underneath.
Building code calls for at least 21 inches of clear floor space in front of the vanity. This allows someone to stand and use the sink without cramping and meets accessibility standards. Measure this distance from the wall face to the front edge of the cabinet.
Call 575-640-4335 for a walkthrough, usually within the same week.