Bathroom Remodel Wall Panels Services in San Antonio, TX
A panel installation starts with the substrate check. If the existing wall is sound drywall or backer board, we measure and layout the panel run from the inside corner out.
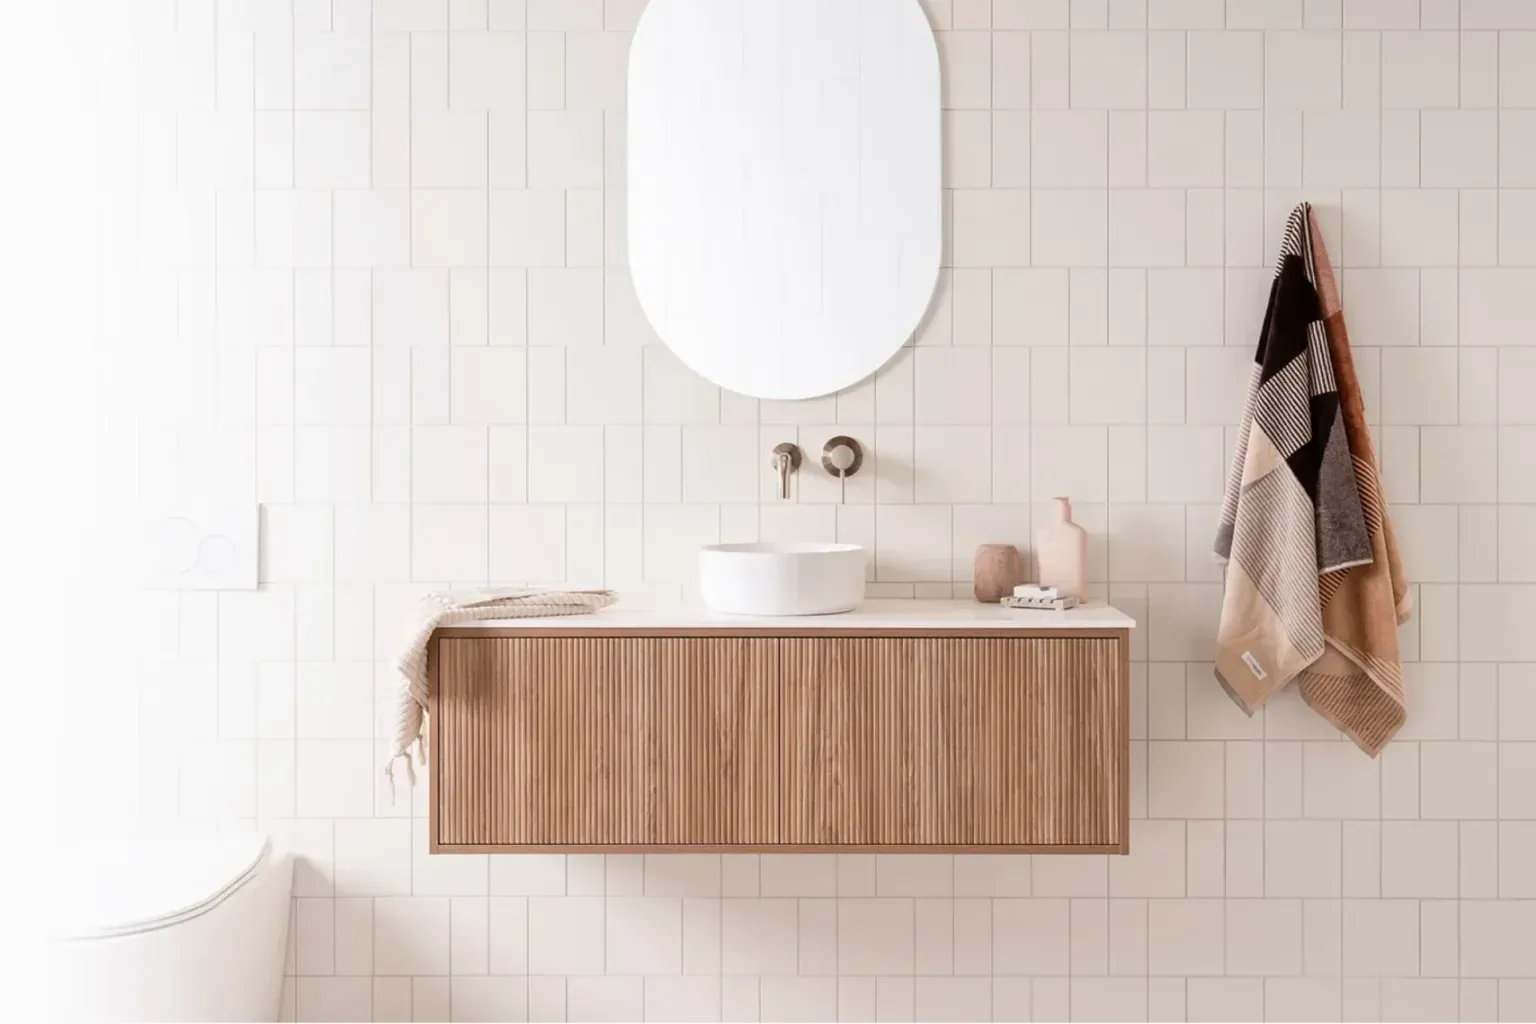
SA Bathroom Remodel Pros installs, tapes and finishes bathroom remodel wall panels for homeowners and builders across San Antonio, TX, replacing tile, drywall and damaged shower surrounds with modern waterproof panels that hold up better and cost less over time. We run the full job from demolition through trim installation and sealing, and we handle the material selection and substrate prep most remodelers leave to chance.
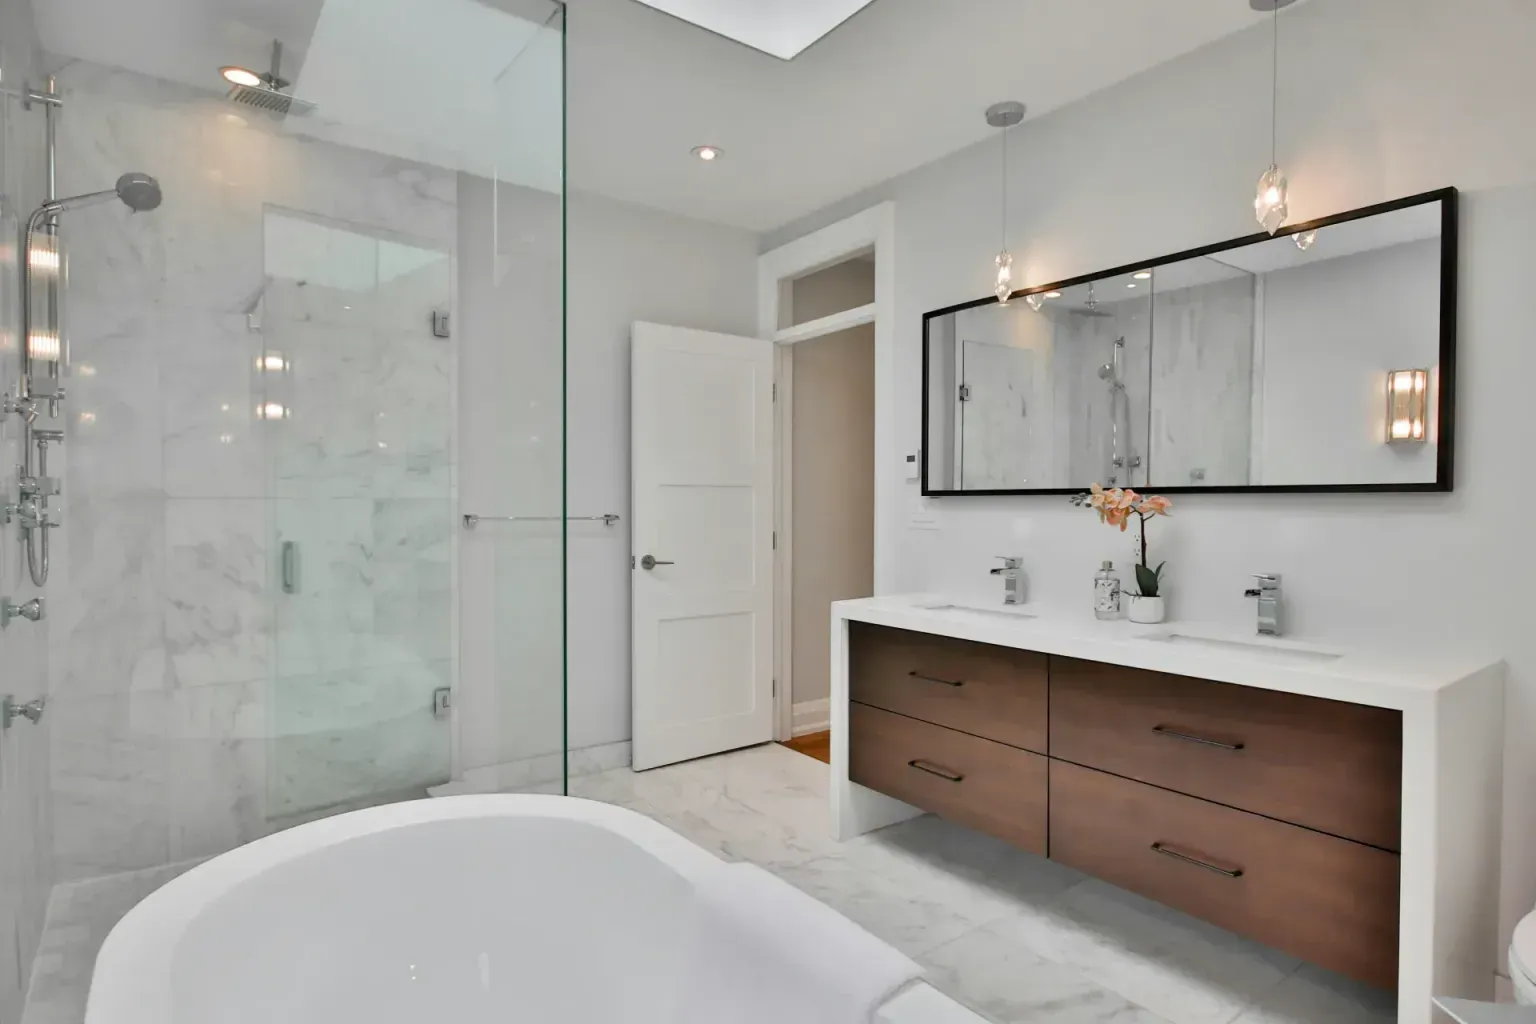
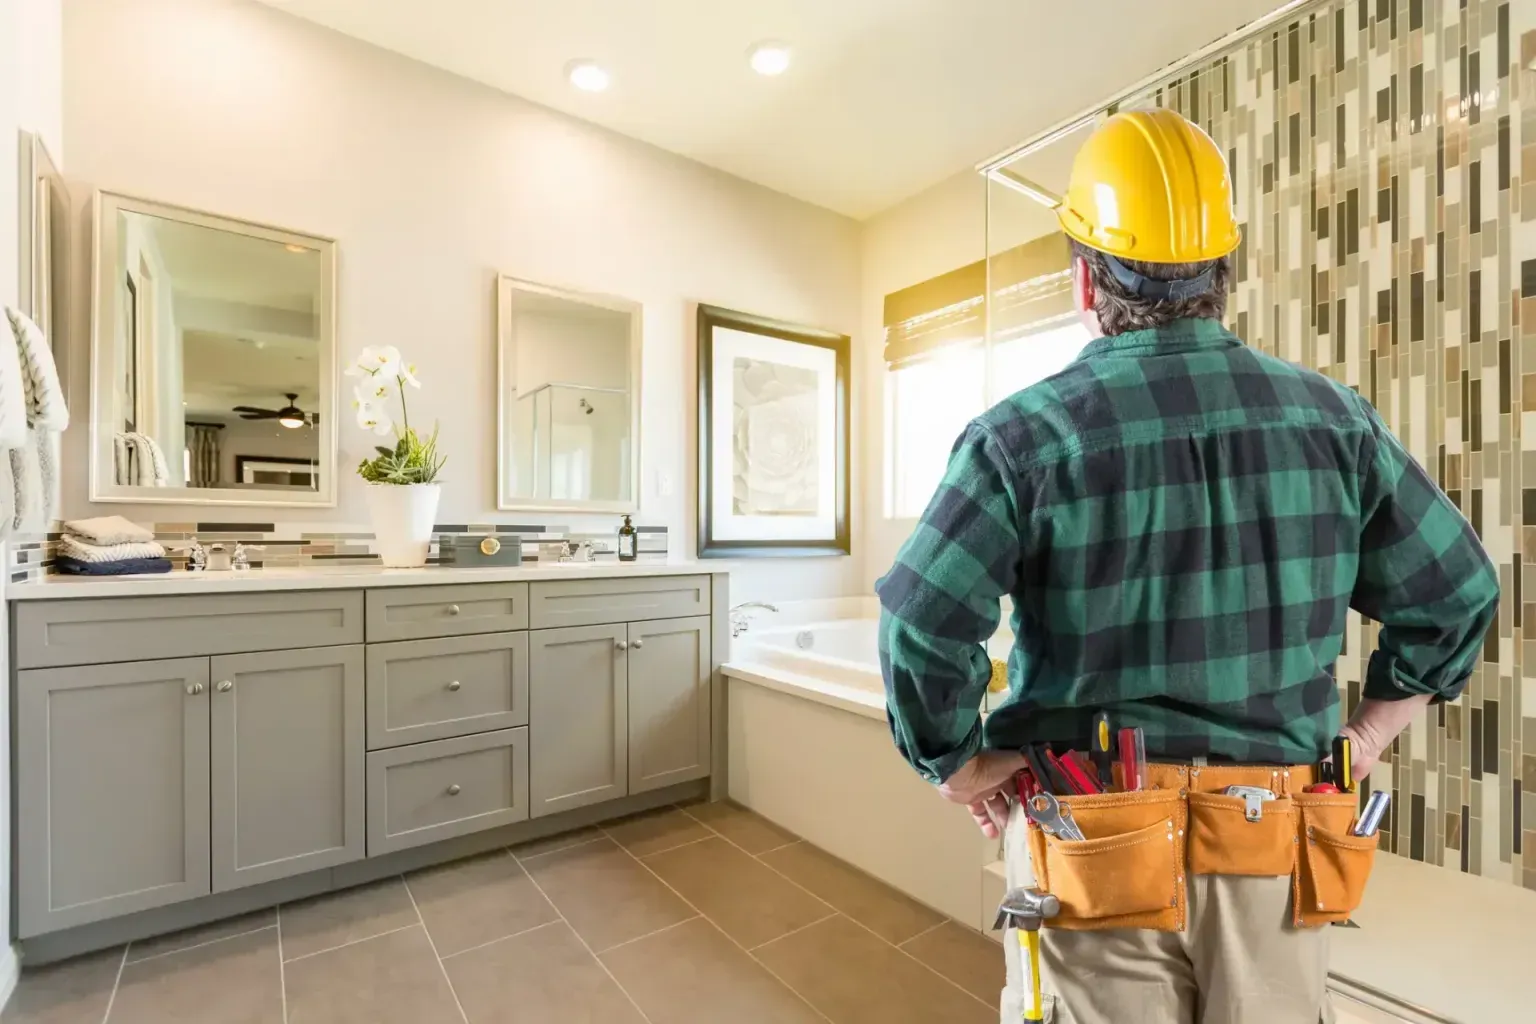
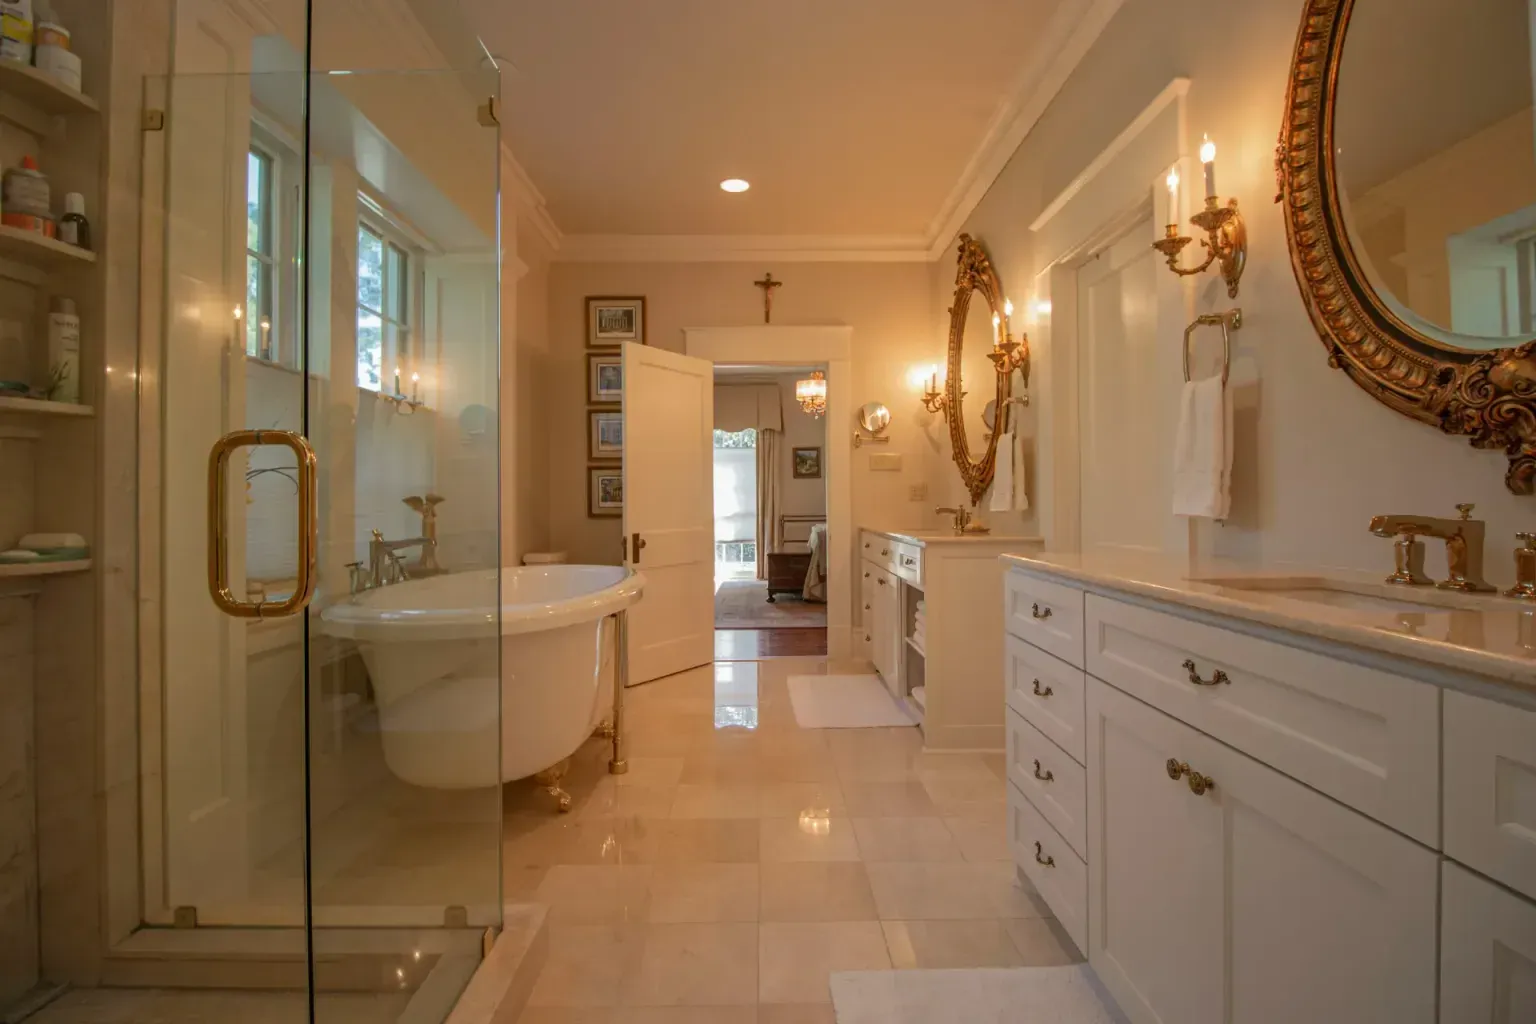
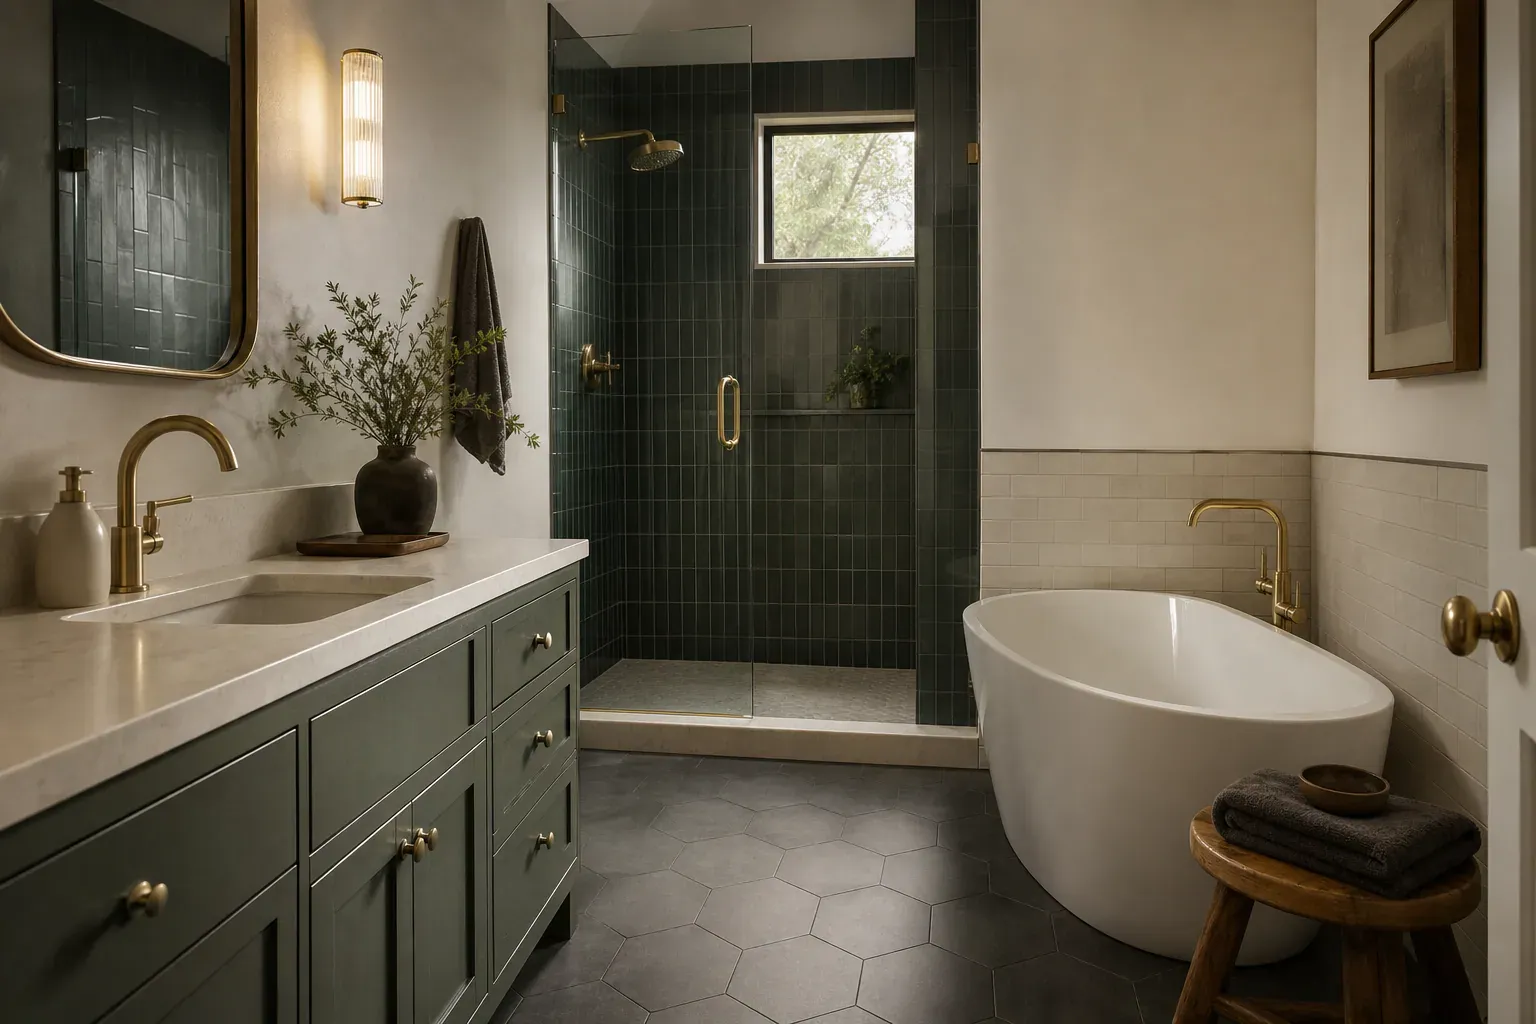
A panel installation starts with the substrate check. If the existing wall is sound drywall or backer board, we measure and layout the panel run from the inside corner out. If there's old tile, we either install panels directly over it (when it's flat and stable) or remove it and prep the surface down to solid substrate. We apply panel adhesive in a grid pattern, set each panel working from back wall forward, then run silicone sealant in every seam before the system takes water. The waterproof barrier formed by sealed panels and trim beats grout joints and caulk lines that crack and allow water into the wall cavity. Most residential shower remodels finish in 2–3 days depending on shower size and whether plumbing rough-in needs relocation.
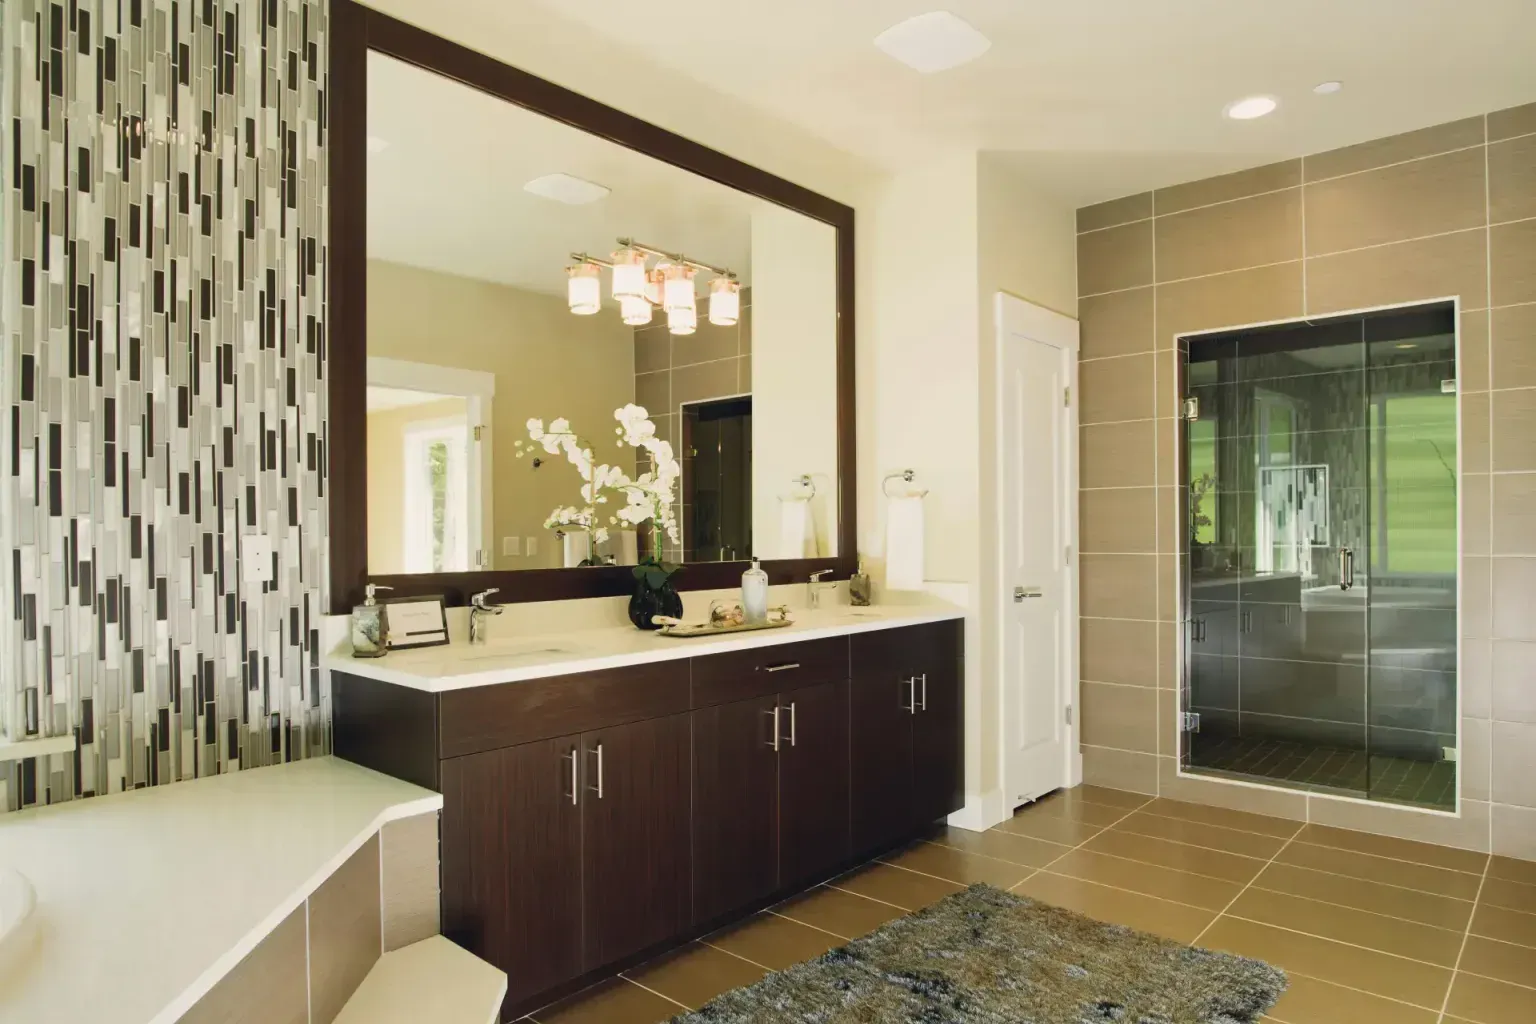
Each panel type suits different use cases and budgets. PVC panels run 1/8 to 1/4 inch thick with a closed-cell moisture-resistant core that won't wick water or swell like MDF. Acrylic wall panel options offer a warmer finish and resist scratching better under regular cleaning, but cost slightly more per square foot. Laminate shower wall panels stay lightweight and easy to cut on site, but the core must be sealed at all cut edges to prevent water uptake and swelling. Fiberglass shower panels handle high-heat steam applications best and won't yellow over time. A moisture-resistant core construction is the non-negotiable feature across all types—solid wood or unsealed particle board will fail fast. Popular systems like the DuraBath system and Fibo panels come pre-cut for standard shower sizes, which cuts labor and waste.
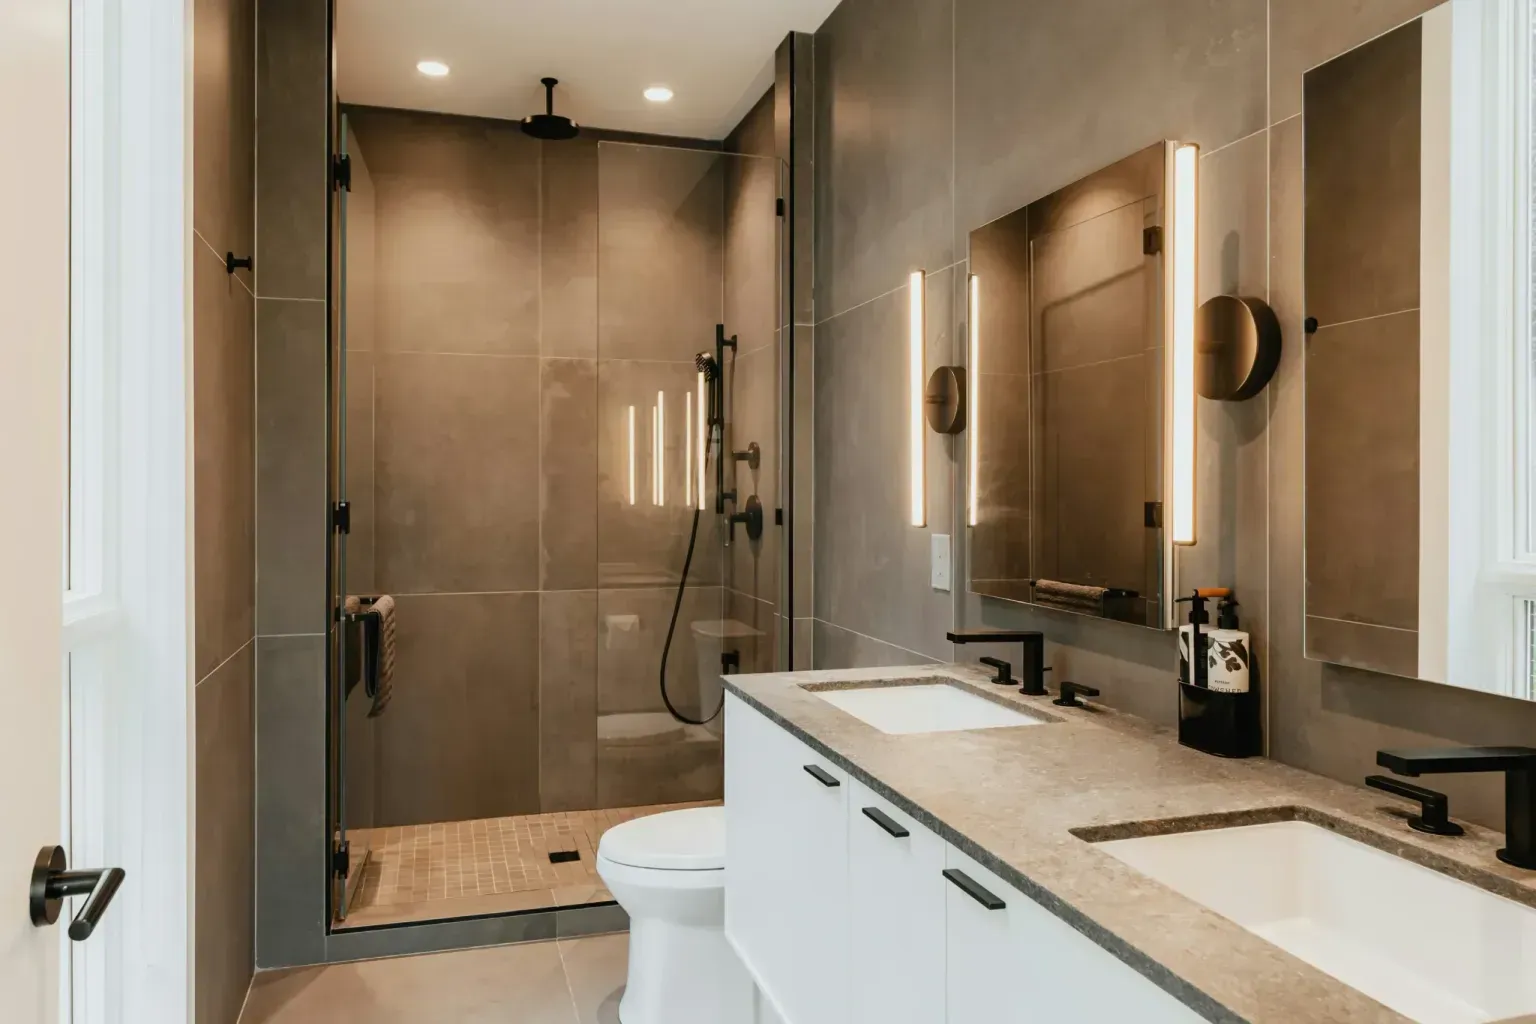
Quartz wall panels resist scratching and staining better than porcelain and hold their finish longer, but cost more per square foot. Porcelain panels are lighter, easier to cut during installation, and run cheaper overall. Tile stone wall panels and ceramic tile look-alike finishes in laminate give the upscale appearance of real tile or stone without the sealing, staining and grout maintenance. The performance difference is real—porcelain and quartz won't trap moisture in seams the way grout does, which keeps mold out of the wall assembly.
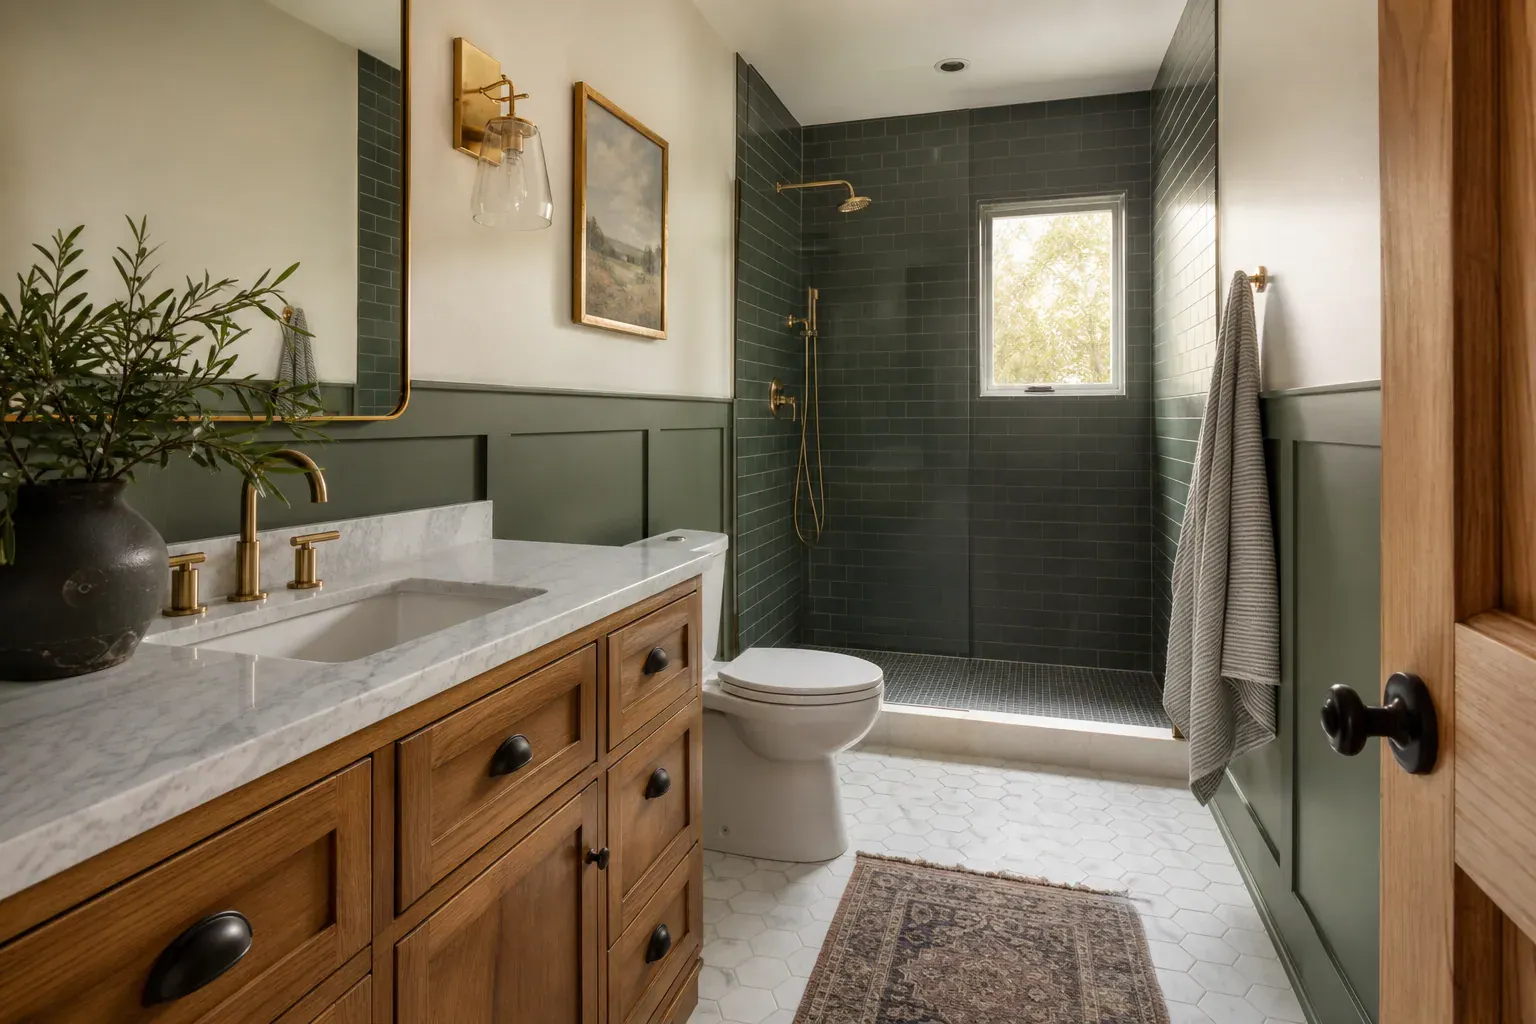
Installing over old tile substrate works when the tile is flat, well-adhered and stays that way after we clean and scuff the surface. We apply panel adhesive directly to tile and set panels using the same technique as a drywall surface. If tile is loose, cracked or uneven, removal saves callbacks because the new panels won't conform to a wavy base. We remove tile, inspect for water damage in the wall cavity, repair with backer board if needed, and then run the panel install on solid substrate. A drywall surface in good condition gets primed and sanded lightly before adhesive goes down; wet drywall gets removed and replaced with backer board before any panels touch it.
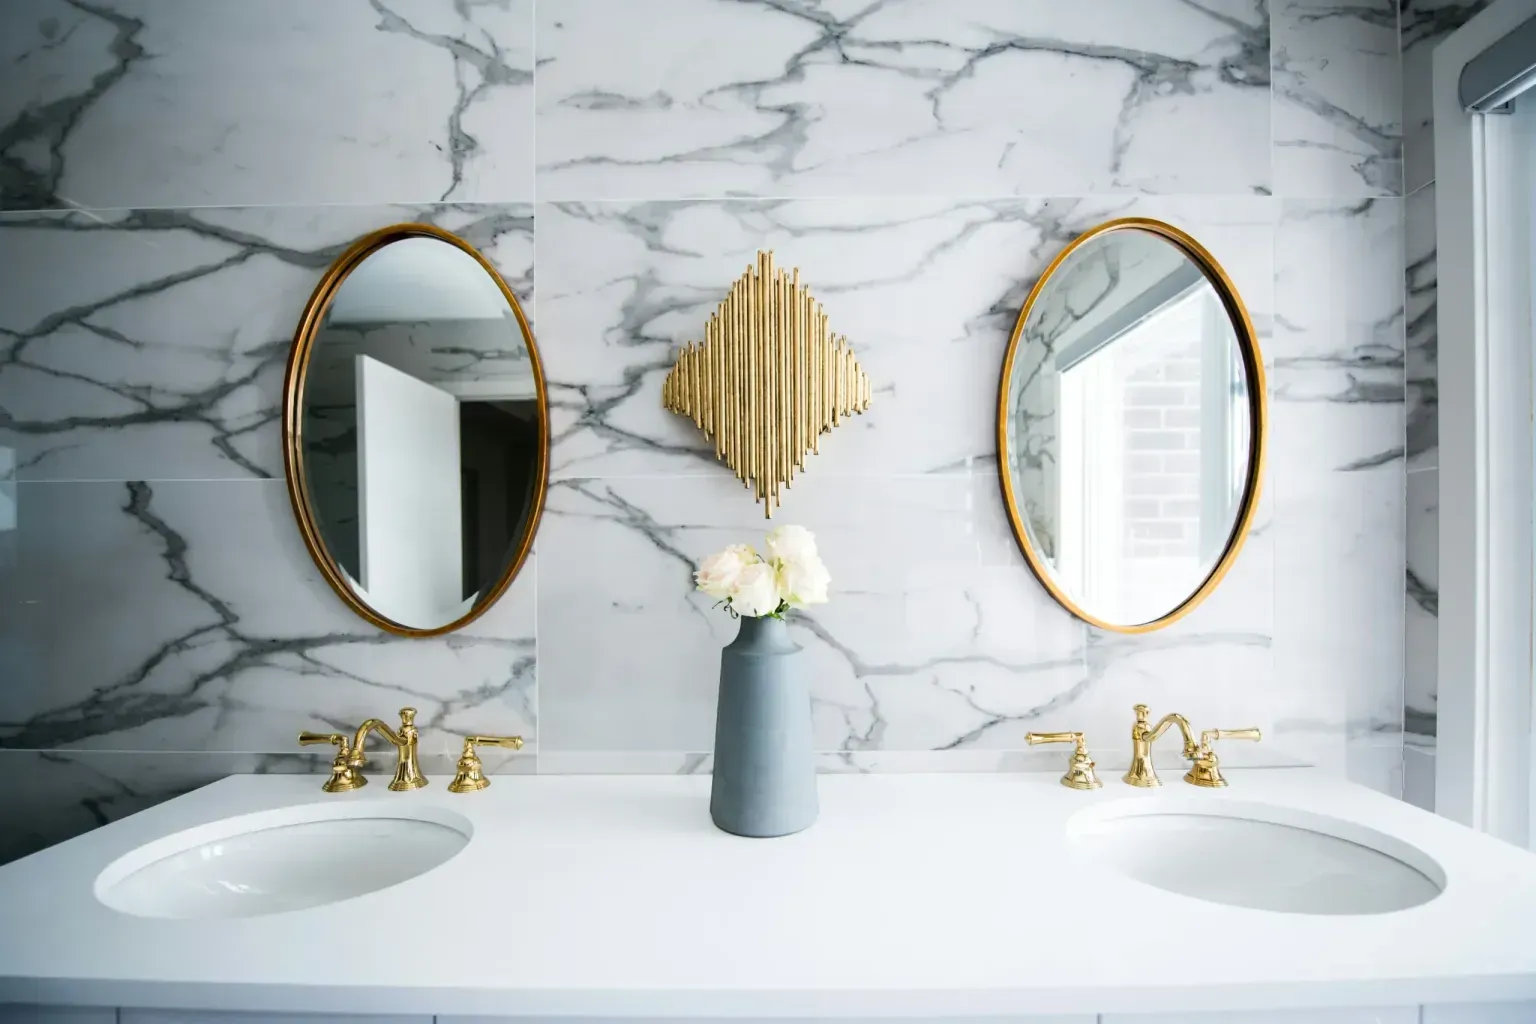
A tub-to-shower conversion with wall panels runs this sequence: demolition of the tub and surround, plumbing valve relocation if the spout is not where the new shower head needs to sit, shower pan set and leveled, wall panels installed working from the back wall forward, then glass shower doors hung last so the frame doesn't get marked up during panel work. The shower pan sits on a bed of thinset mortar, slopes to the drain, and cures overnight before panels go up. Most conversions run 2–4 days start to finish. A sloped, level pan paired with sealed panel seams means water runs where it should and never pools behind the walls.
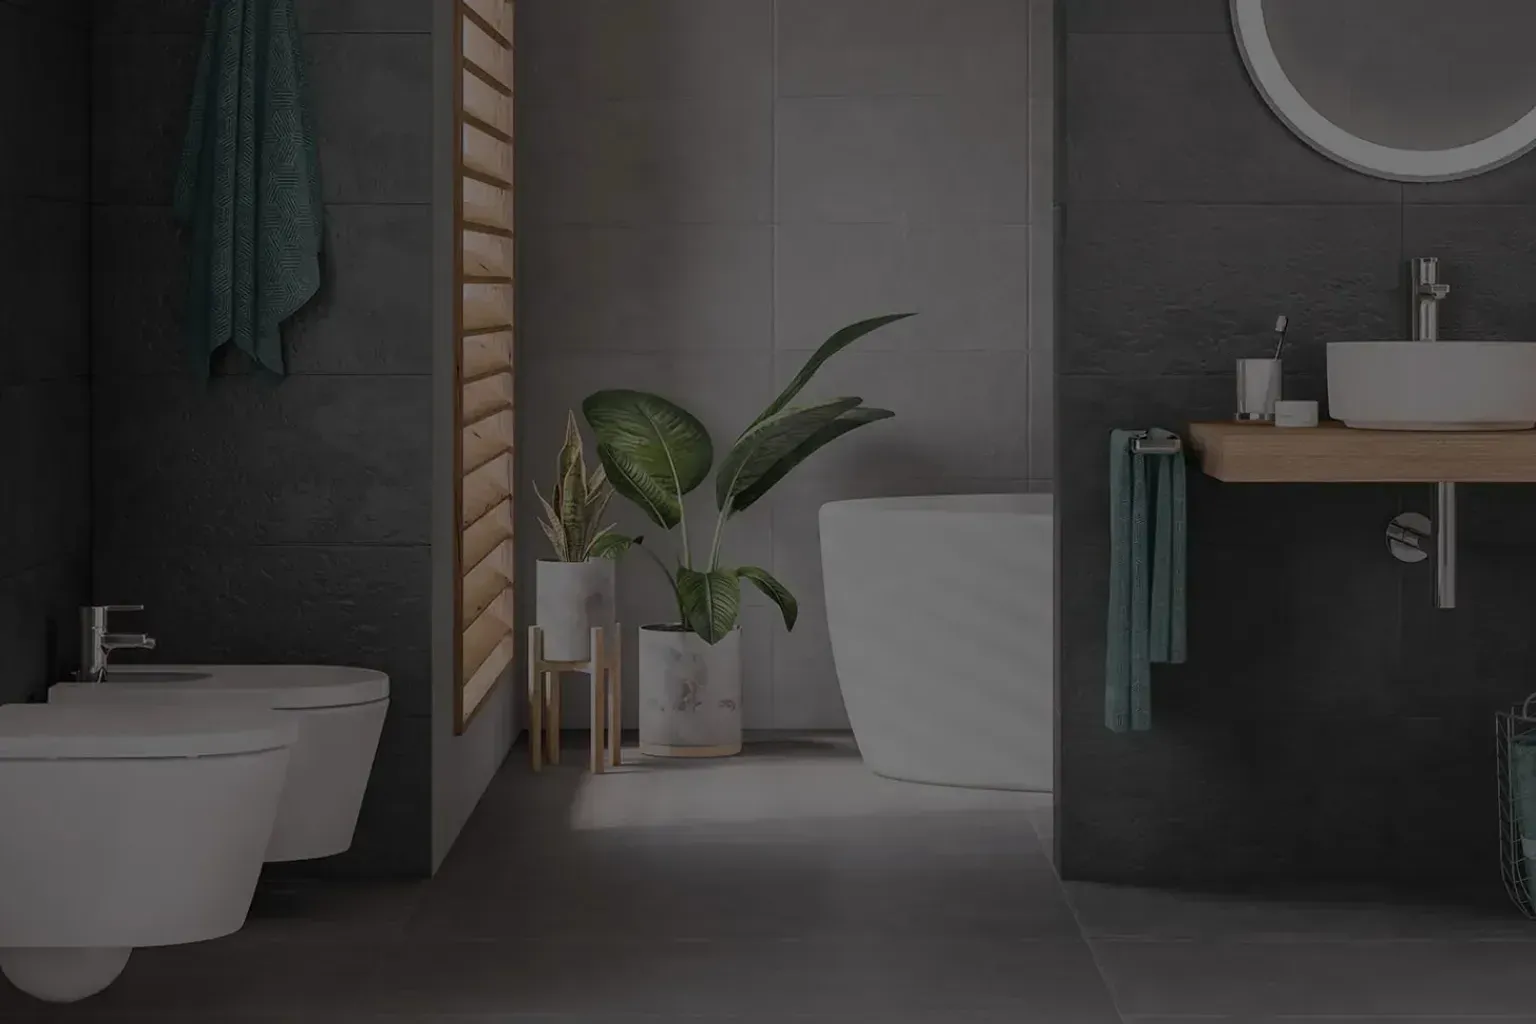
Minimizing visible seams creates the luxury look clients want. Internal corner trim conceals the butt joint where two panels meet at a corner; H-trim joins panel edges mid-wall on larger showers; edge caps finish any exposed panel edge at niches or windows. We run a continuous bead of silicone sealant at every panel seam and the floor transition, with no gaps that water can exploit. The trim covers raw edges and frames the panel field so the eye reads the shower as one seamless surface. Details like niche surrounds and inset shelving get flashed and sealed the same way tile would be, but without the grout lines that collect mold and dirt.
Pre-assembled shower wall systems and replacement kits come cut and fitted for standard shower sizes, reducing field labor and fit issues. Durable solid-surface shower walls made from acrylic or quartz handle decades of daily use without significant wear. The material thickness and resin content matter—thicker panels resist flexing and impact better than thin laminates. Accessible aging-in-place bathroom upgrades pair wall panels with low-threshold shower pans and marine-grade wood blocking behind panels at grab bar zones before installation. Grab bars are anchored into blocking, not into panel material alone, so they hold weight reliably. A low-threshold shower eliminates the step-over height that becomes a fall hazard, and sealed panel walls reduce the moisture and mold risk that older bathrooms accumulate.
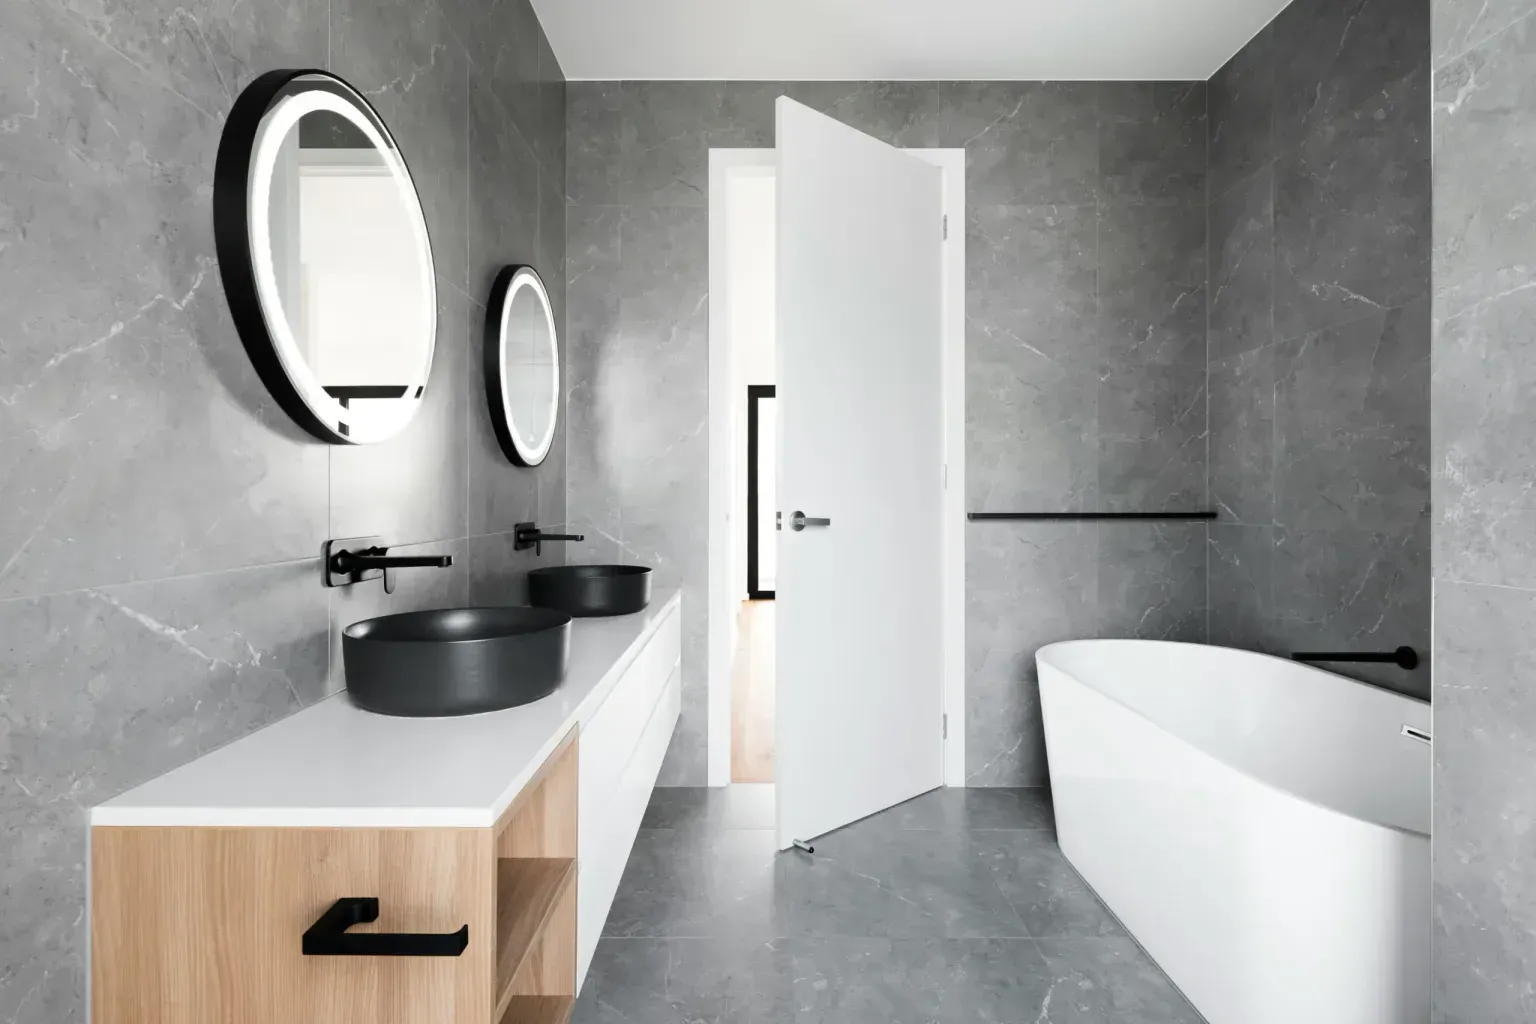
Wall panel coverage is straightforward math: measure the linear feet of wall and the height from pan to ceiling or soffit. Multiply for square footage, add 15 percent for waste and cut-outs, then cross-reference the material thickness and seam layout to confirm adhesive and trim quantities. Wall panel accessories and trim—corner caps, j-channels, edge trim, niche surrounds and dado rail—are ordered once the panel field is locked in. We calculate trim runs and accessory counts from the layout drawing so nothing is short-ordered mid-job. This precision prevents site delays and keeps material costs predictable.
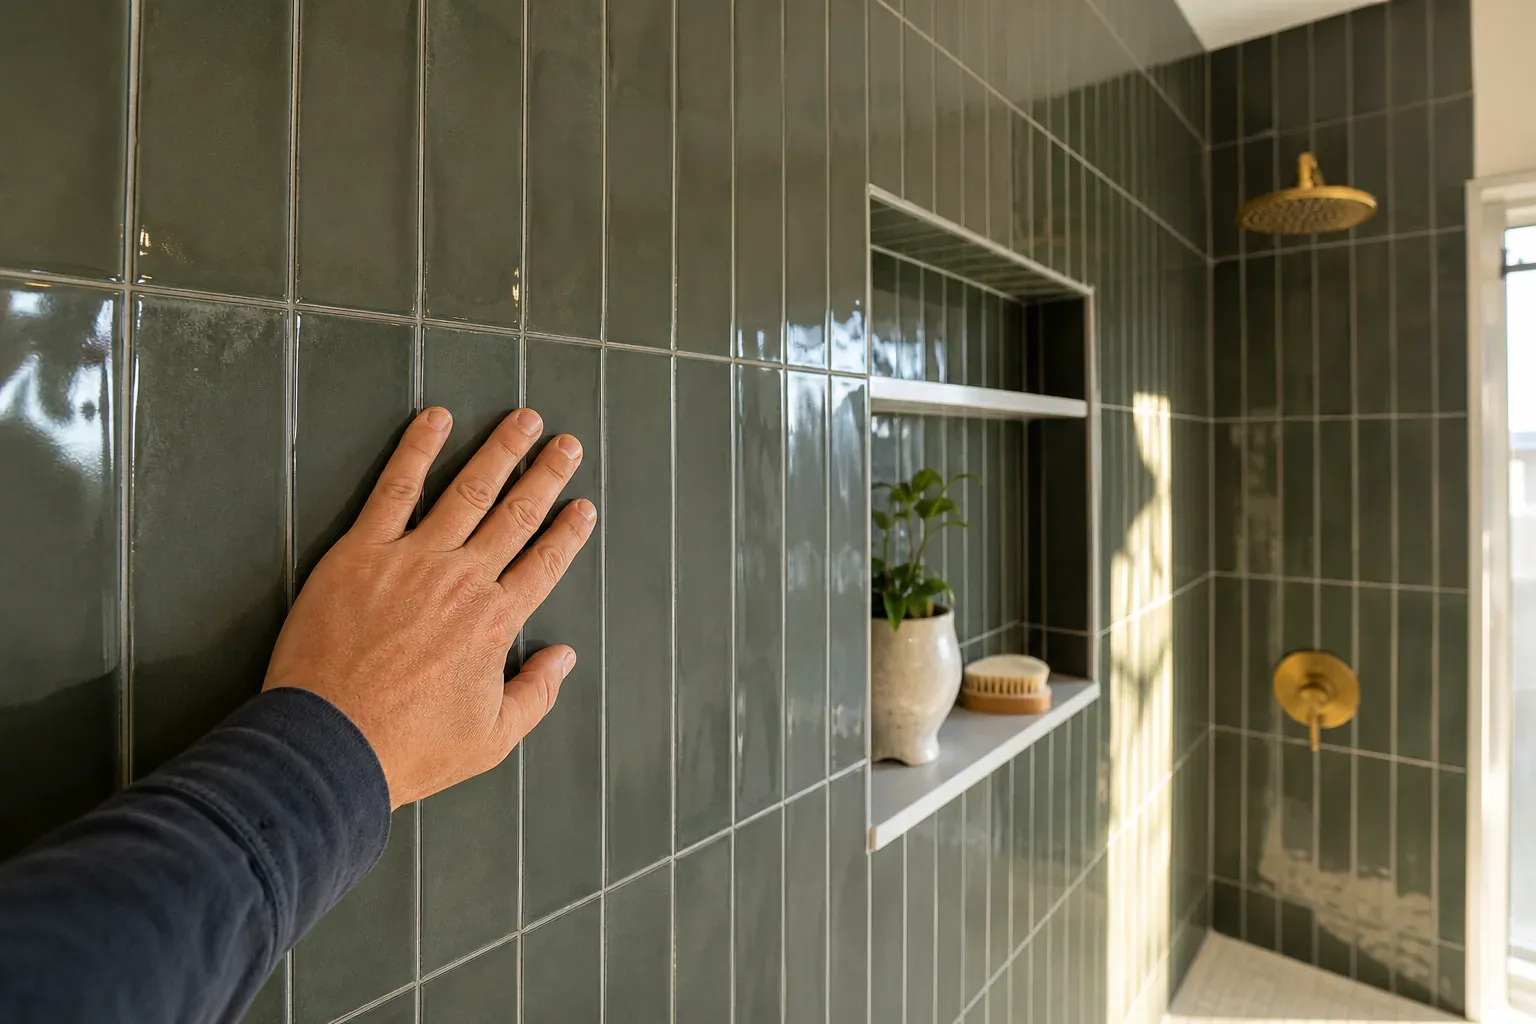
Grout-free shower wall solutions and mold-resistant wall panel systems eliminate the mold lines and maintenance burden of traditional tile. Cleaning is simple—non-abrasive cleaners and a soft cloth only; solvents cloud acrylic and can degrade the surface finish. Panel bowing usually traces to skipped adhesive coverage in the panel field, not just the edges, which lets humidity behind the panel face. Failed seams almost always mean silicone was applied over dust, old sealant or without letting the adhesive cure fully before water exposure—we back-caulk seams and let cure 48 hours before water testing. In high-humidity wall panel applications, sealed panel systems outlast tile because they have no grout lines where mold grows.
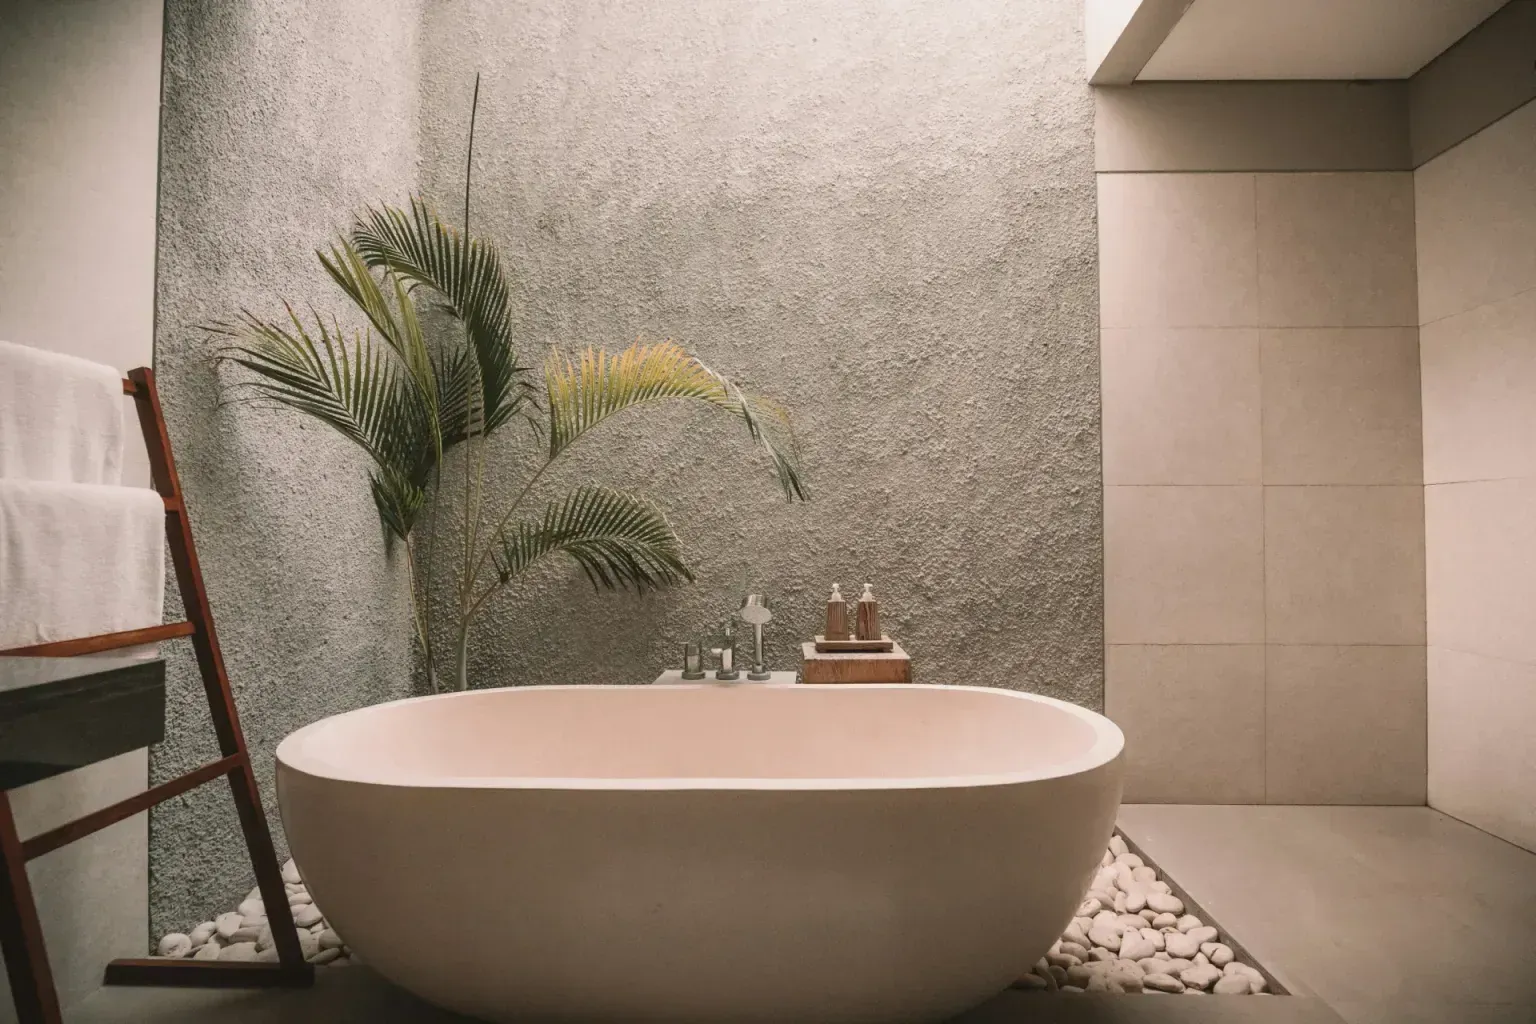
Tile and wall panels solve the same problem — waterproofing and finishing a shower — but they handle labor, durability, and long-term cost very differently. Tile requires grout joints, which are porous and trap moisture over time. Even sealed grout degrades; after five to seven years in a high-moisture shower, you're likely re-grouting or seeing mold creep into the substrate. Wall panels have no joints. Water runs down the surface and drains at the pan or curb. There's nowhere for moisture to hide.
Wall panels look simpler to install than they actually are. The concept is straightforward — measure, cut, attach, seal. The execution requires layout precision, proper substrate preparation, and waterproof sealing at seams and penetrations.
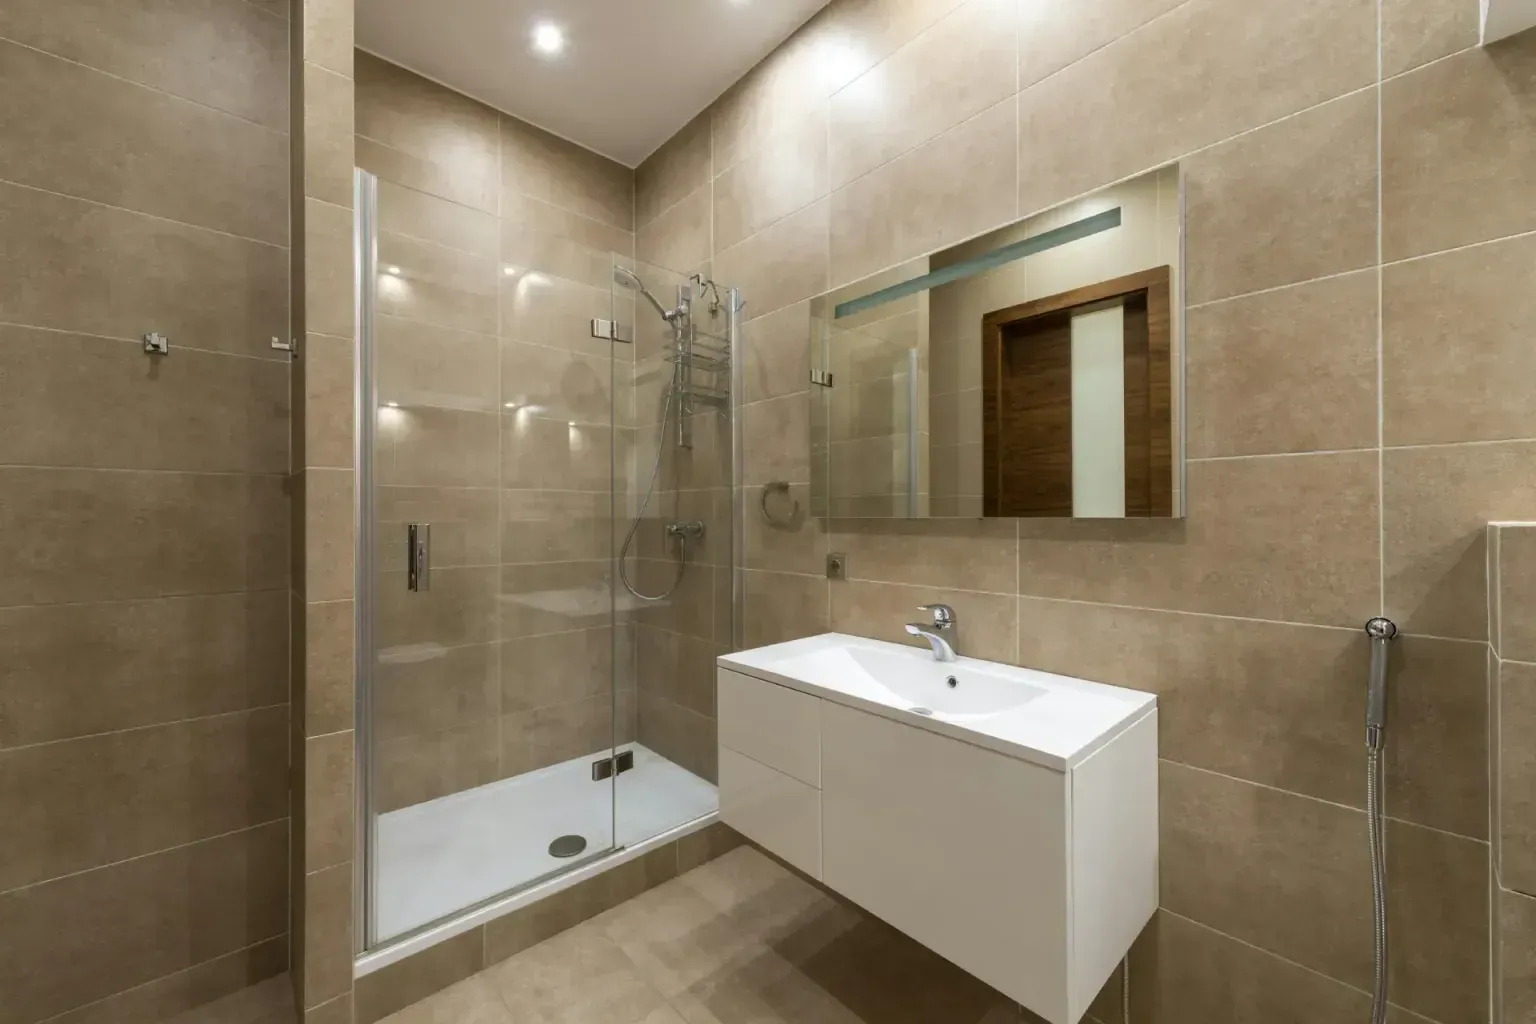
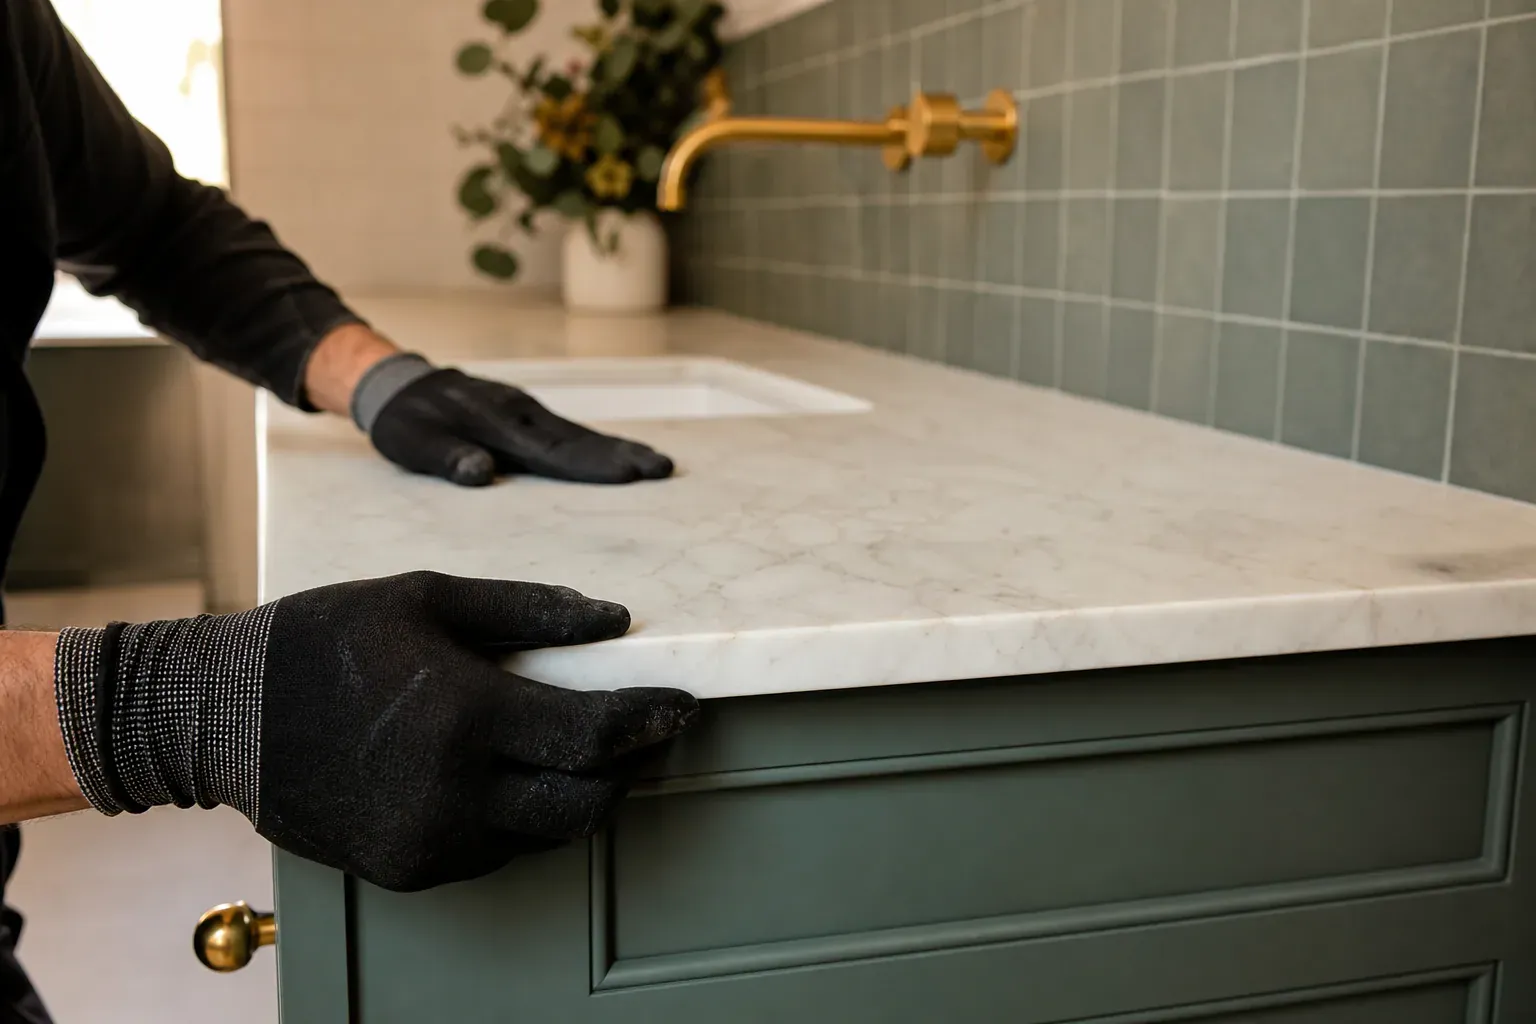
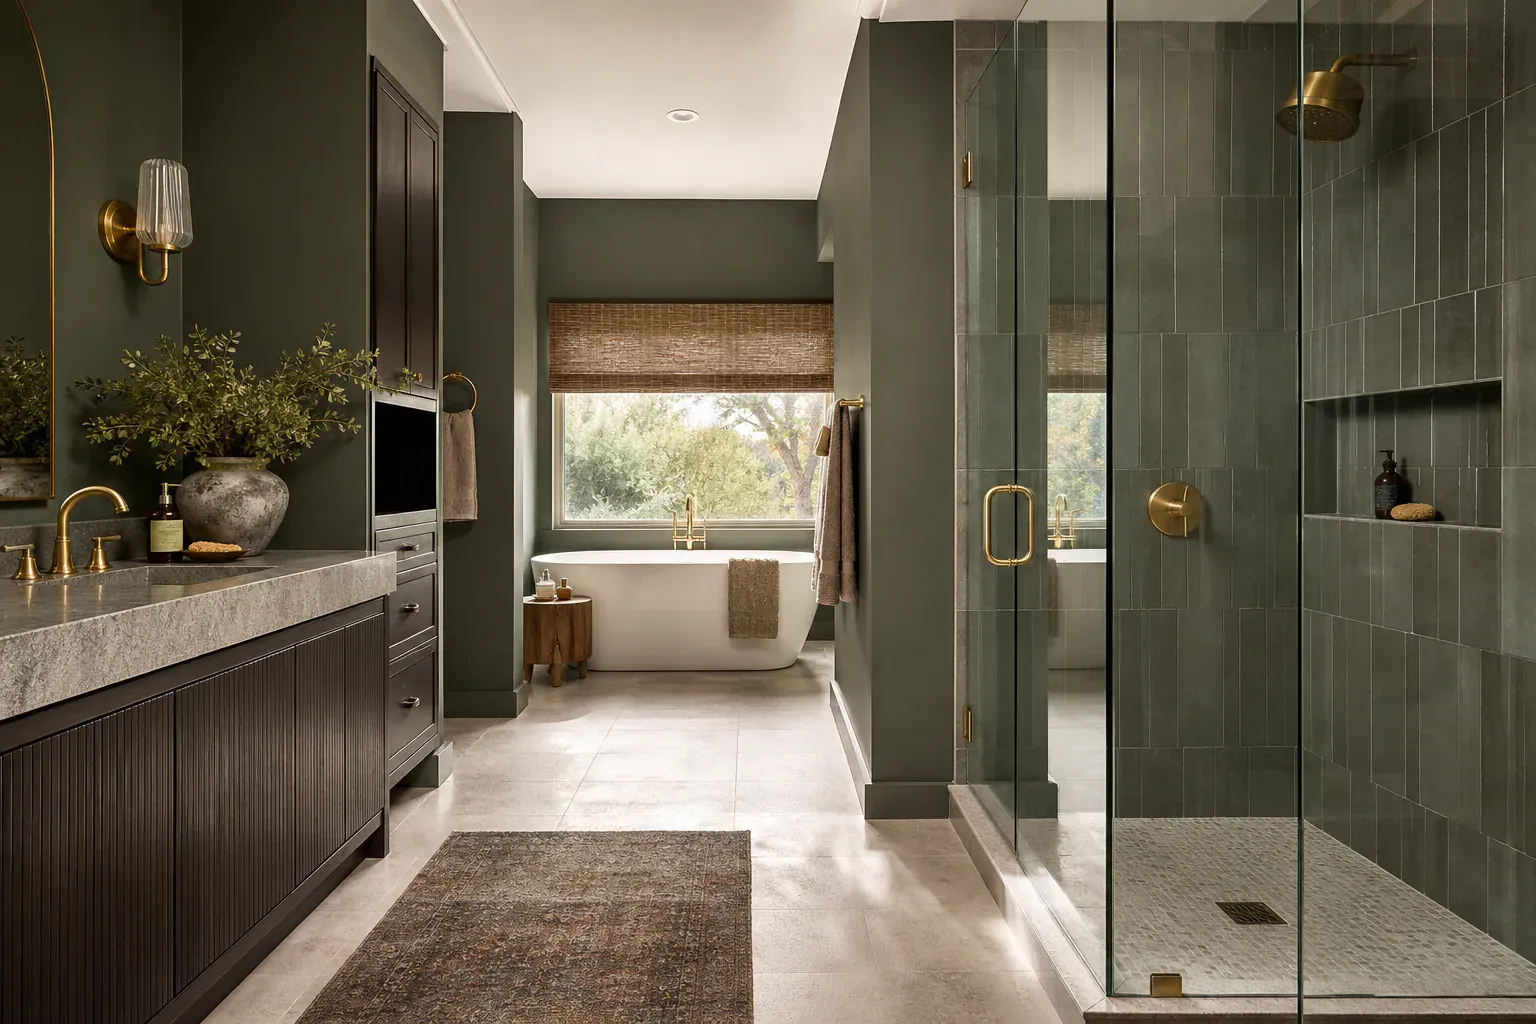
Wall panel finishes range from solid colors to photo-realistic stone and wood textures. Common styles in San Antonio homes are white marble look (which hides soap scum and water spots), gray stone finishes (neutral and durable-looking), and acrylic panels with subtle veining that mimics tile without joints.
The base of your shower — whether a tile pan, acrylic base, or concrete pan — must coordinate with your wall panel choice. Acrylic bases and acrylic wall panels integrate cleanly; the seams are minimal and the materials move together with temperature. When you pair a tile pan with wall panels, the seam where the panel meets the pan lip requires careful caulking to prevent water infiltration.
A panel installation starts with the substrate check. If the existing wall is sound drywall or backer board, we measure and layout the panel run from the inside corner out.
A panel installation starts with the substrate check. If the existing wall is sound drywall or backer board, we measure and layout the panel run from the inside corner out.
Each panel type suits different use cases and budgets. PVC panels run 1/8 to 1/4 inch thick with a closed-cell moisture-resistant core that won't wick water or swell like MDF.
Quartz wall panels resist scratching and staining better than porcelain and hold their finish longer, but cost more per square foot.
Installing over old tile substrate works when the tile is flat, well-adhered and stays that way after we clean and scuff the surface.
A tub-to-shower conversion with wall panels runs this sequence: demolition of the tub and surround, plumbing valve relocation if the spout is not where the new shower head needs to sit,…
Why homeowners call us
Every bathroom remodel job is scoped and priced in writing, so the number you approve is the number you pay. If something behind the wall changes the work, we stop and price it first.
You speak to the people doing the work, not a call centre, and cover certificates go to your building manager or general contractor on request.
Containment, floor protection and same-day debris removal on every interior job — the space stays usable while the work is going on.
Crews work San Antonio and the surrounding cities every week, so a walkthrough is usually available within the same week you call.
FAQ
Yes. Panels install faster, seal better against water intrusion, and don't develop mold in grout joints the way tile does. They cost less per square foot over a 10-year horizon because they need no regrouting or stain removal. The only trade-off is aesthetic—some homeowners prefer the look of real tile, but modern quartz and porcelain panels match stone appearance without the maintenance.
PVC panels, acrylic panels, laminate panels, and fiberglass shower panels all work. Marine-grade wood works for areas not in direct spray. The key is a moisture-resistant core and sealed seams. Avoid regular drywall in wet areas—it absorbs water and fails fast. Backer board alone is not a finished surface and needs covering.
Yes, if the tile is flat, solid and well-adhered. We clean and scuff the tile, apply panel adhesive, and set panels as if over drywall. Loose or cracked tile must be removed first because panels won't conform to an uneven substrate and seams will fail.
Both work well. PVC has a closed-cell moisture-resistant core that won't swell. Acrylic offers a warmer finish and better scratch resistance. PVC costs less; acrylic lasts longer under daily wear. Choose based on budget and aesthetic preference—performance is similar in typical residential bathrooms.
Panels need a solid, flat surface—bare studs are not acceptable. Install backer board or drywall first, then panels over that substrate. Backer board is moisture-resistant and won't swell if it gets wet during installation or later. It's the standard base for any waterproof wall assembly.
Use non-abrasive cleaners and a soft cloth. Avoid solvents, bleach and harsh scrubbing, which can cloud acrylic or degrade the finish. Wipe down after showers to prevent hard water spots. Inspect silicone seams annually and re-caulk if you see gaps—that stops water from getting behind panels.
Call 575-640-4335 for a walkthrough, usually within the same week.